By the Numbers:
2 Quilting Techniques
3 layers of Binding
8 Different Fabrics Used
96.5 Labor Hours
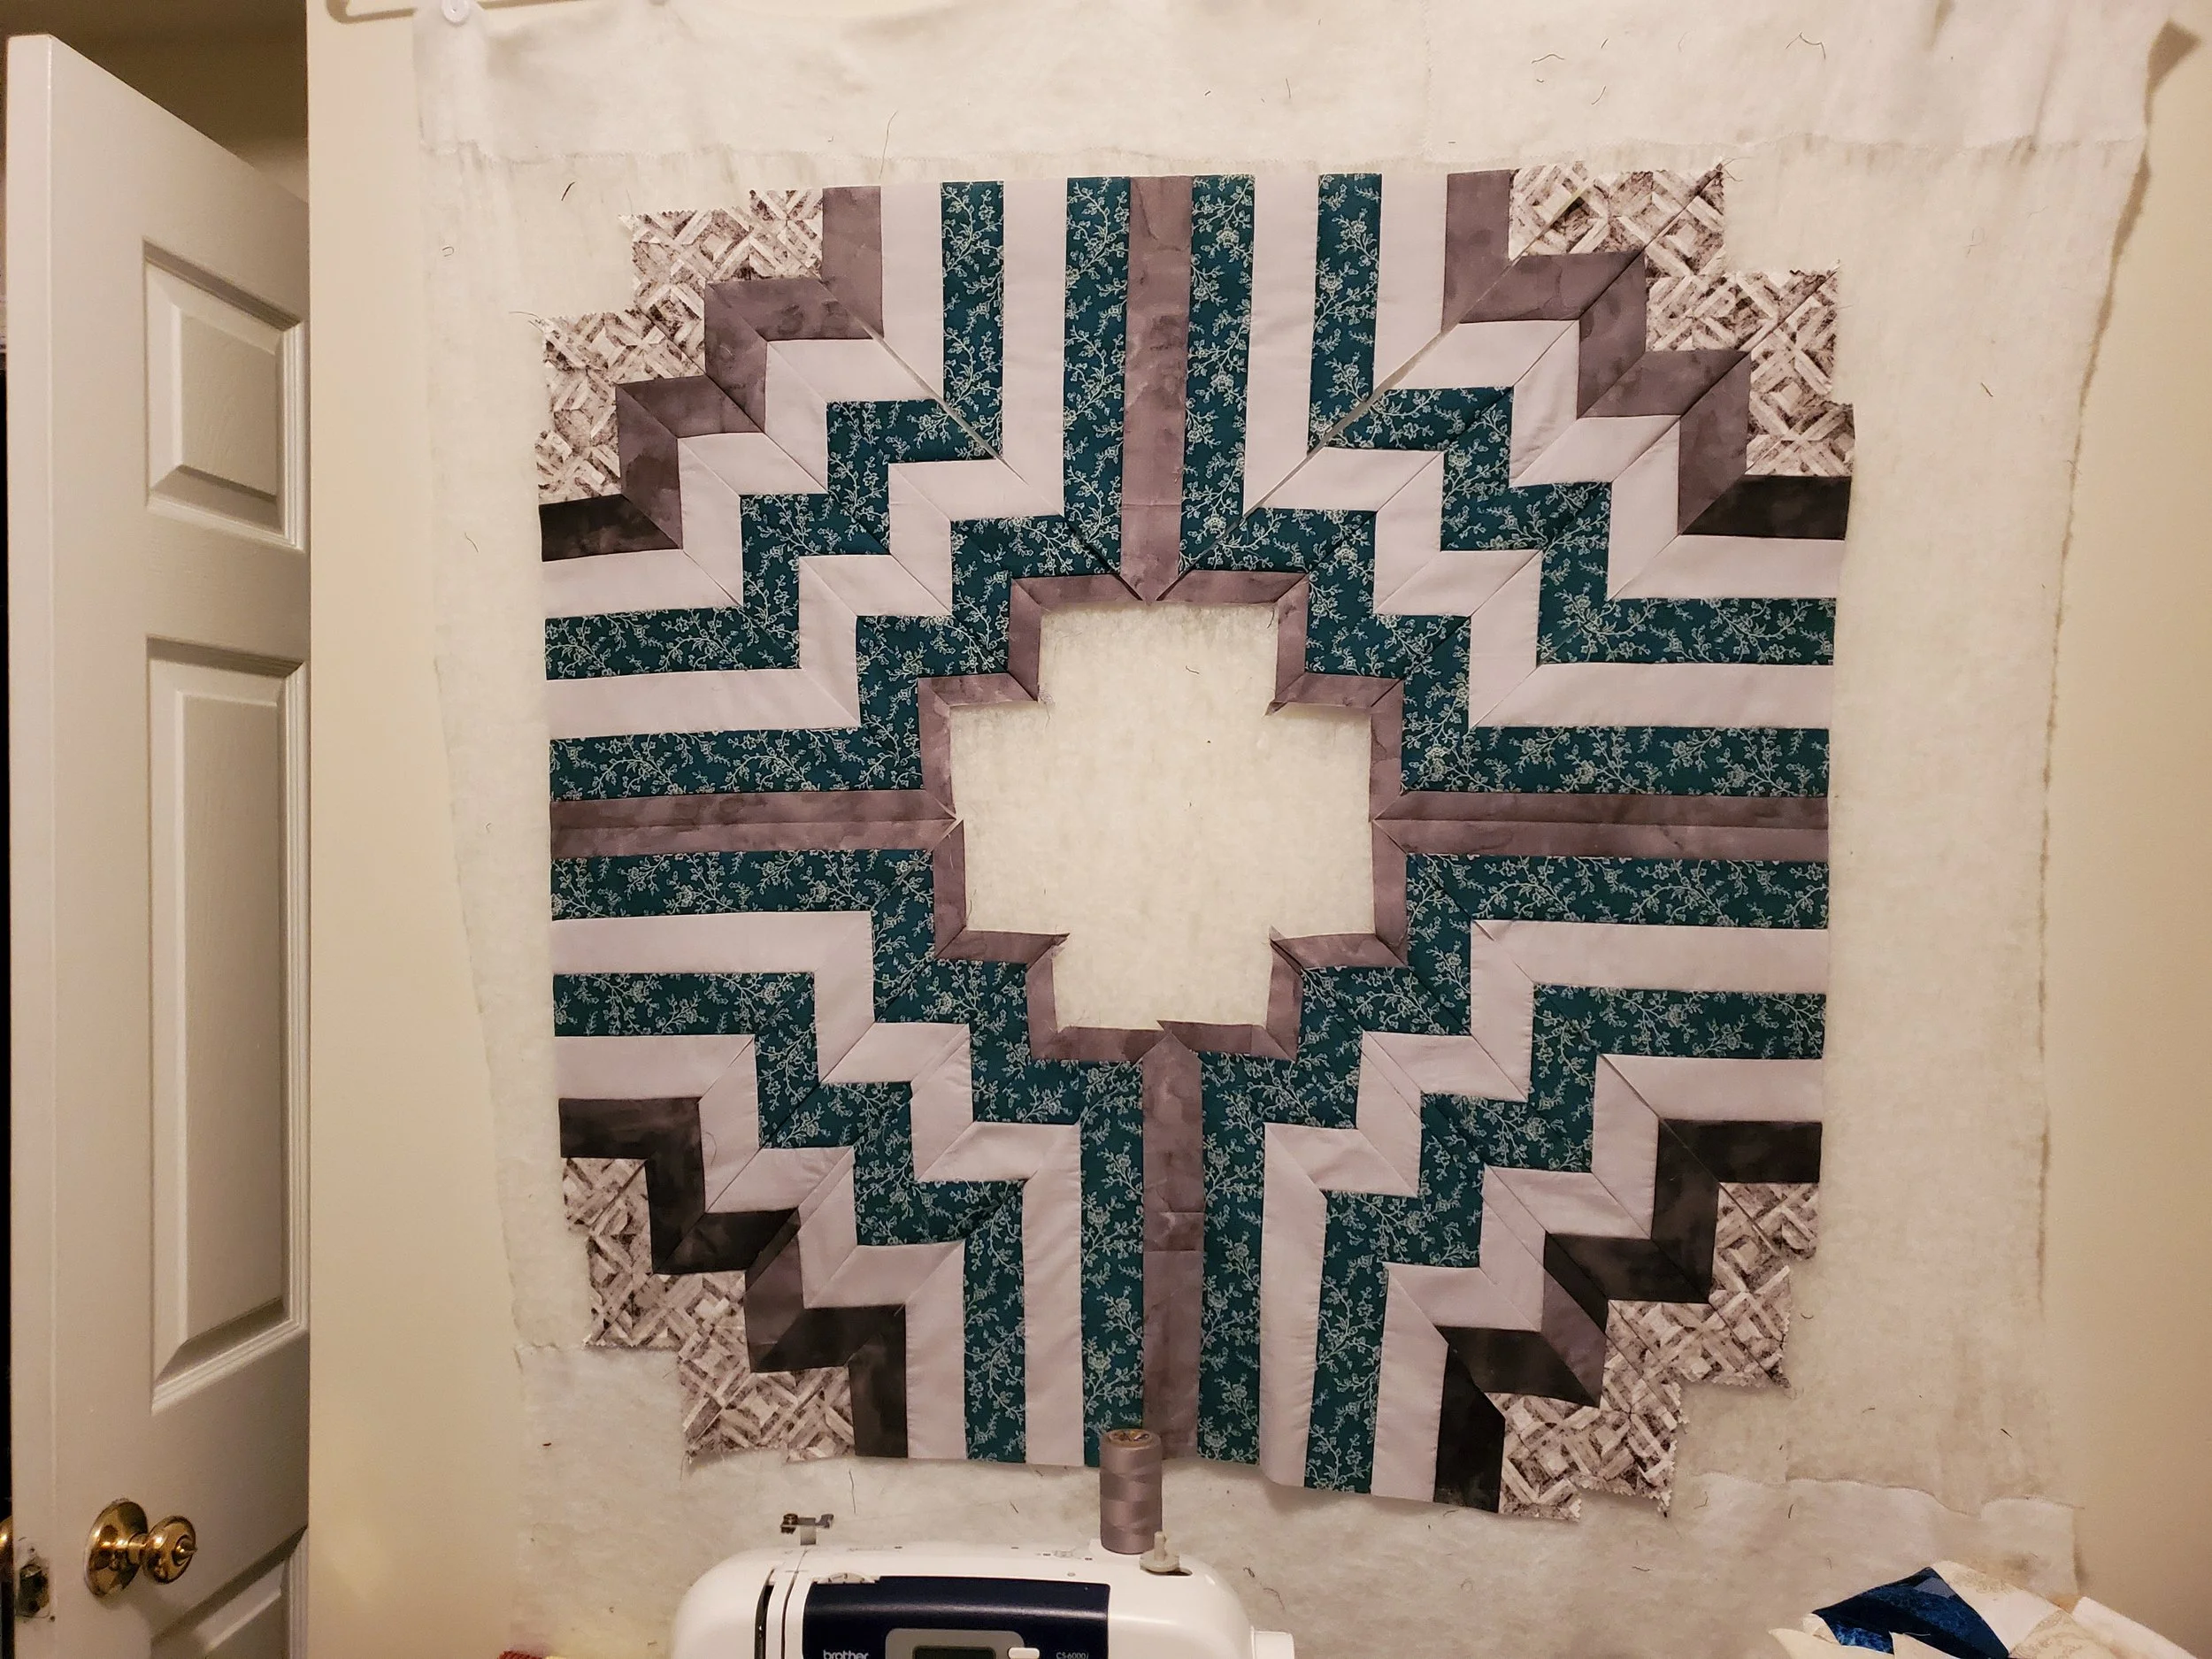
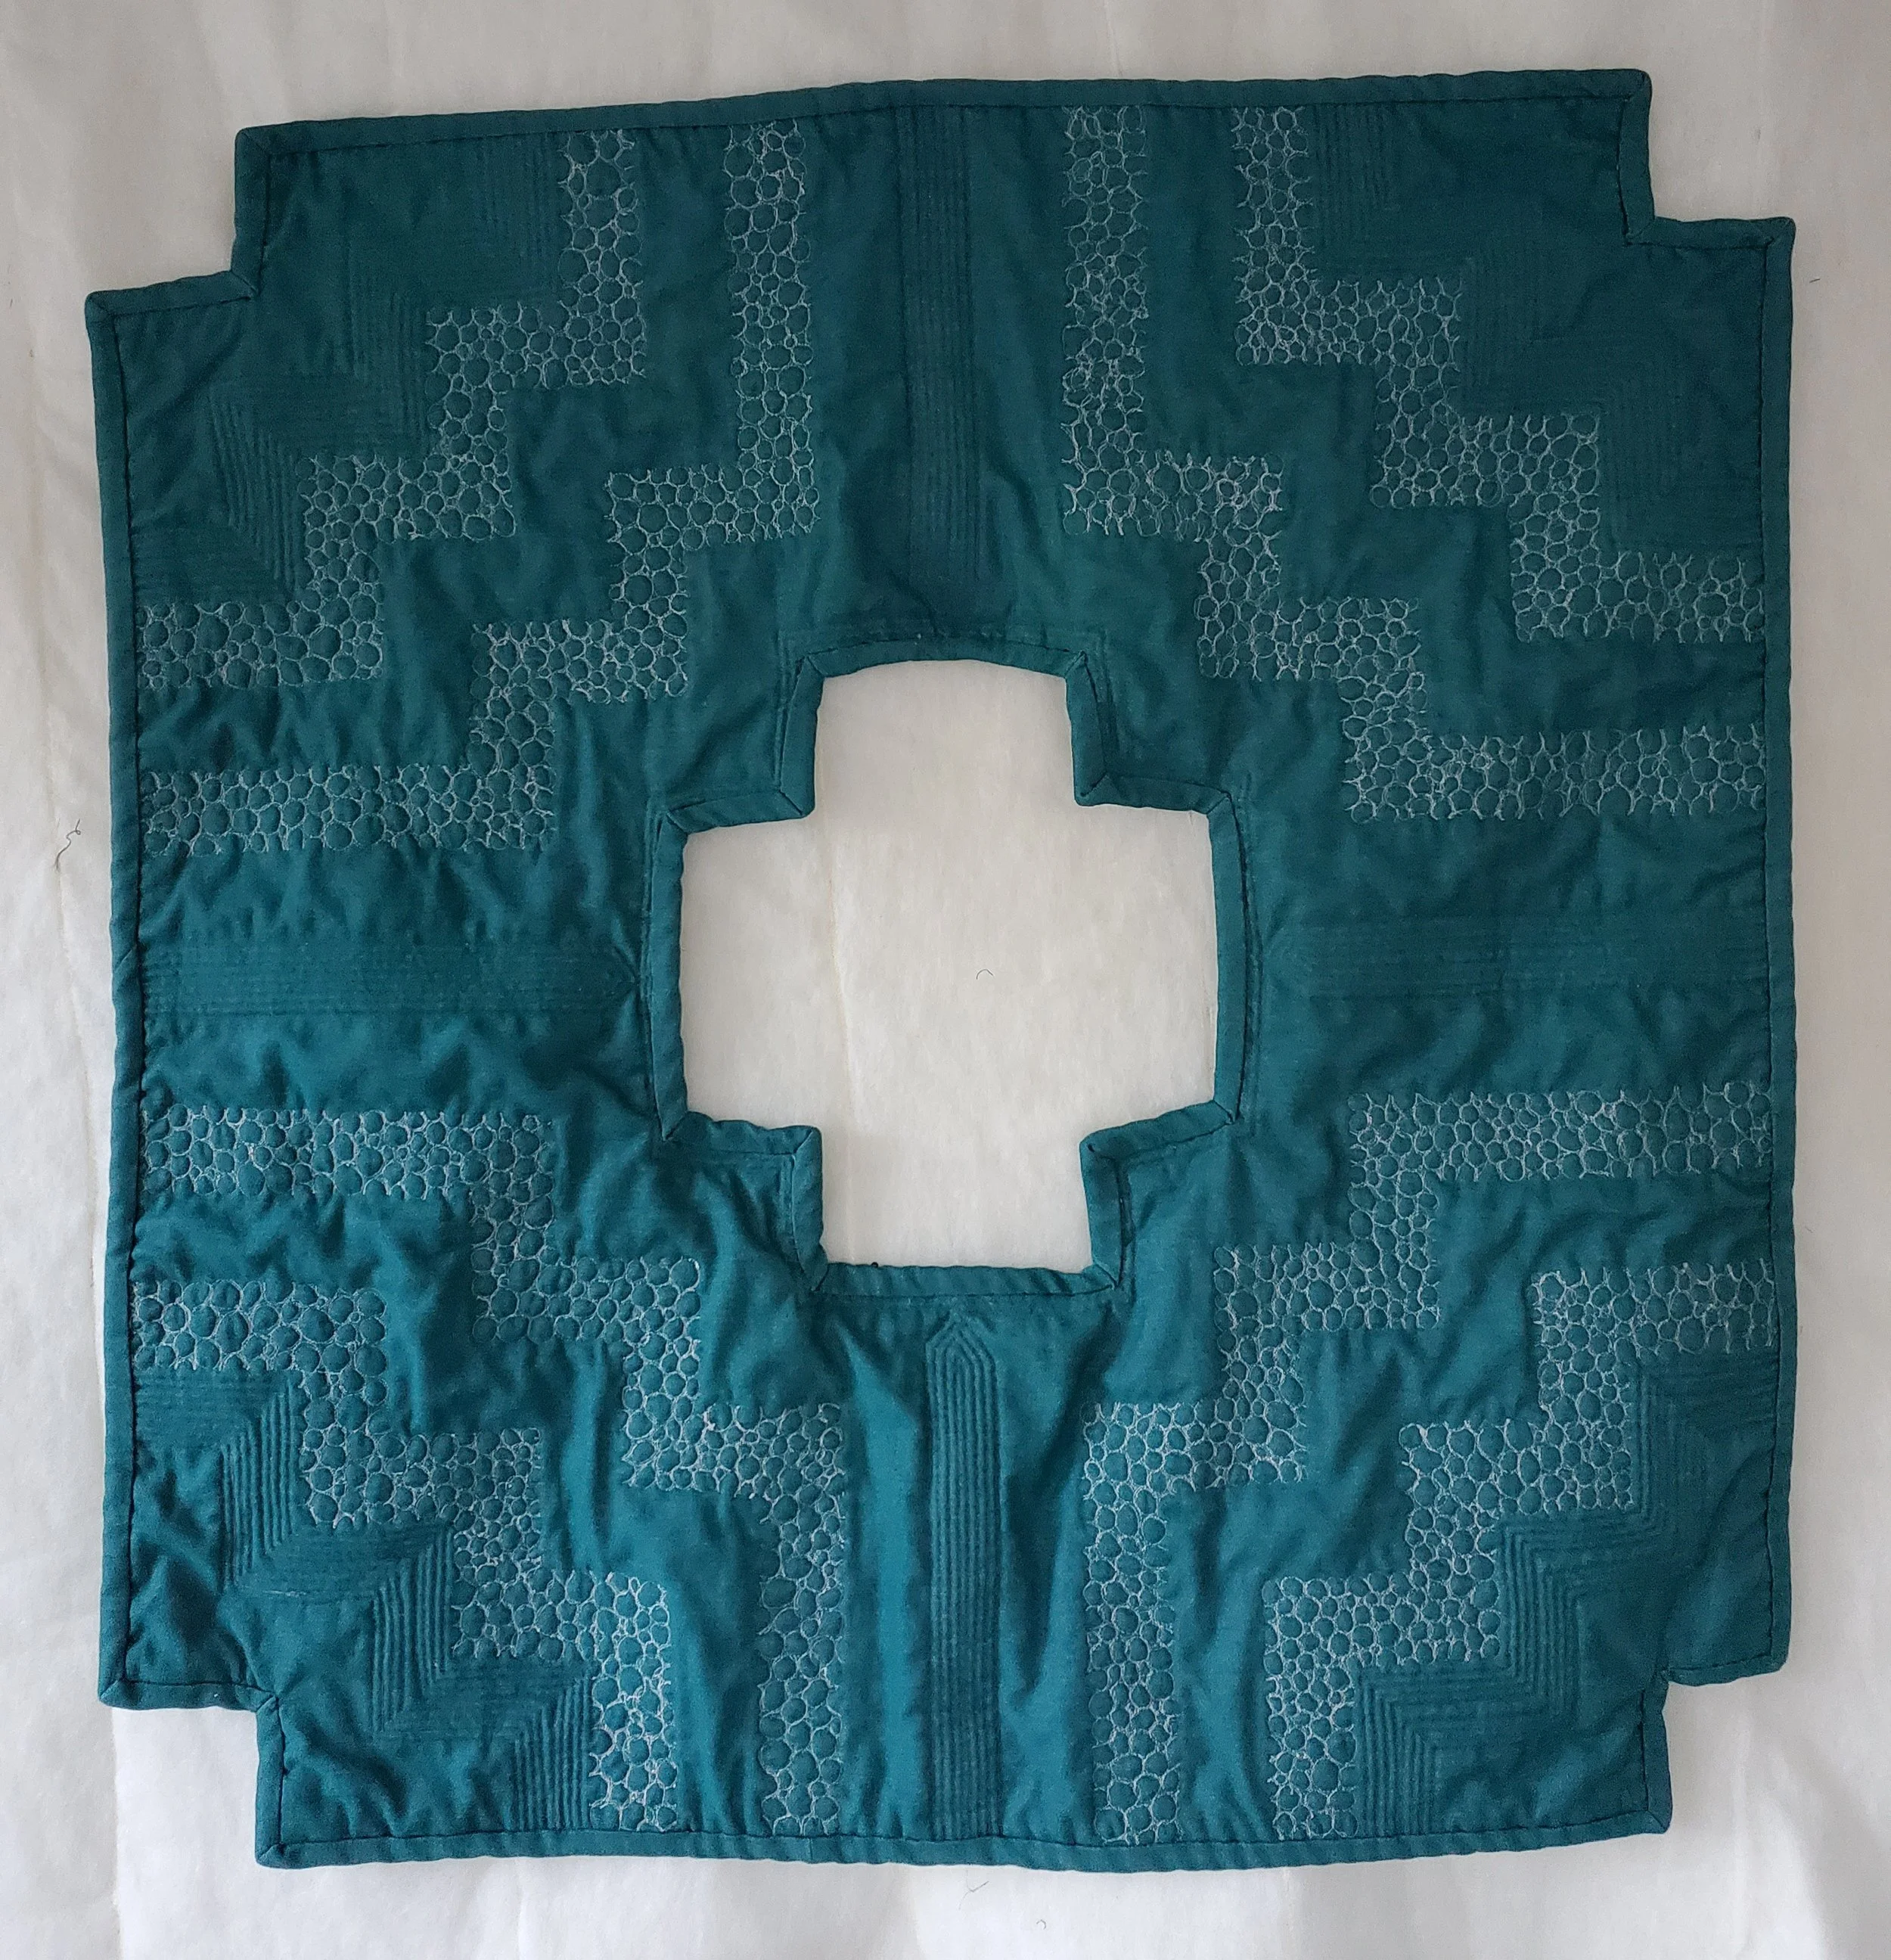
Center Space : A Happy Accident
Originally I had planned to make a strip-pieced quilt. When I was about two-thirds of the way through cutting, I realized I had cut a strip incorrectly and the pattern I originally wanted to create was no longer possible. Since I was using scraps, I did not have enough fabric left over to create a corrected piece, so I decided to “make it work”. I realized that if I cut the rest of my strips at a 45 degree angle, I could wrangle the fabric into a cool looking zig-zag shape.
The next problem I encountered was the lack of a center. When I changed the cutting and pattern, the funky center emerged.
Look, mistakes were made…
As Bob Ross once said: “We don't make mistakes. We just have happy accidents.”
I totally agree with Mr. Ross, even if the accidents leave us feeling a bit frustrated at the moment. “Center Space” came from a creative accident and wound up being all about improvisation, out-of-the box thinking, perseverance and problem solving.
I stared at it for weeks on my design wall, trying to figure out what to do with the center. When my husband asked “Does it have to have a center?”, that’s when I started toying with the idea of an absent center. Would it still be considered a quilt if it didn’t have a center?
Ideas taking root…
According to Merriam-Webster, a quilt is defined in two ways:
As a Noun: a bed coverlet of two layers of cloth filled with padding (such as down or batting) held in place by ties or stitched designs
As a Verb: to stitch or sew in layers with padding in between
Soooo…sort of a quilt by the formal definition? Honestly though, as someone who really likes art quilting, I’ll take the second definition please! And the more I thought about it and looked at the quilt on my design wall, the more I liked this idea of simply not having a center. Of course, that led to a whole new set of challenges in the next stages…
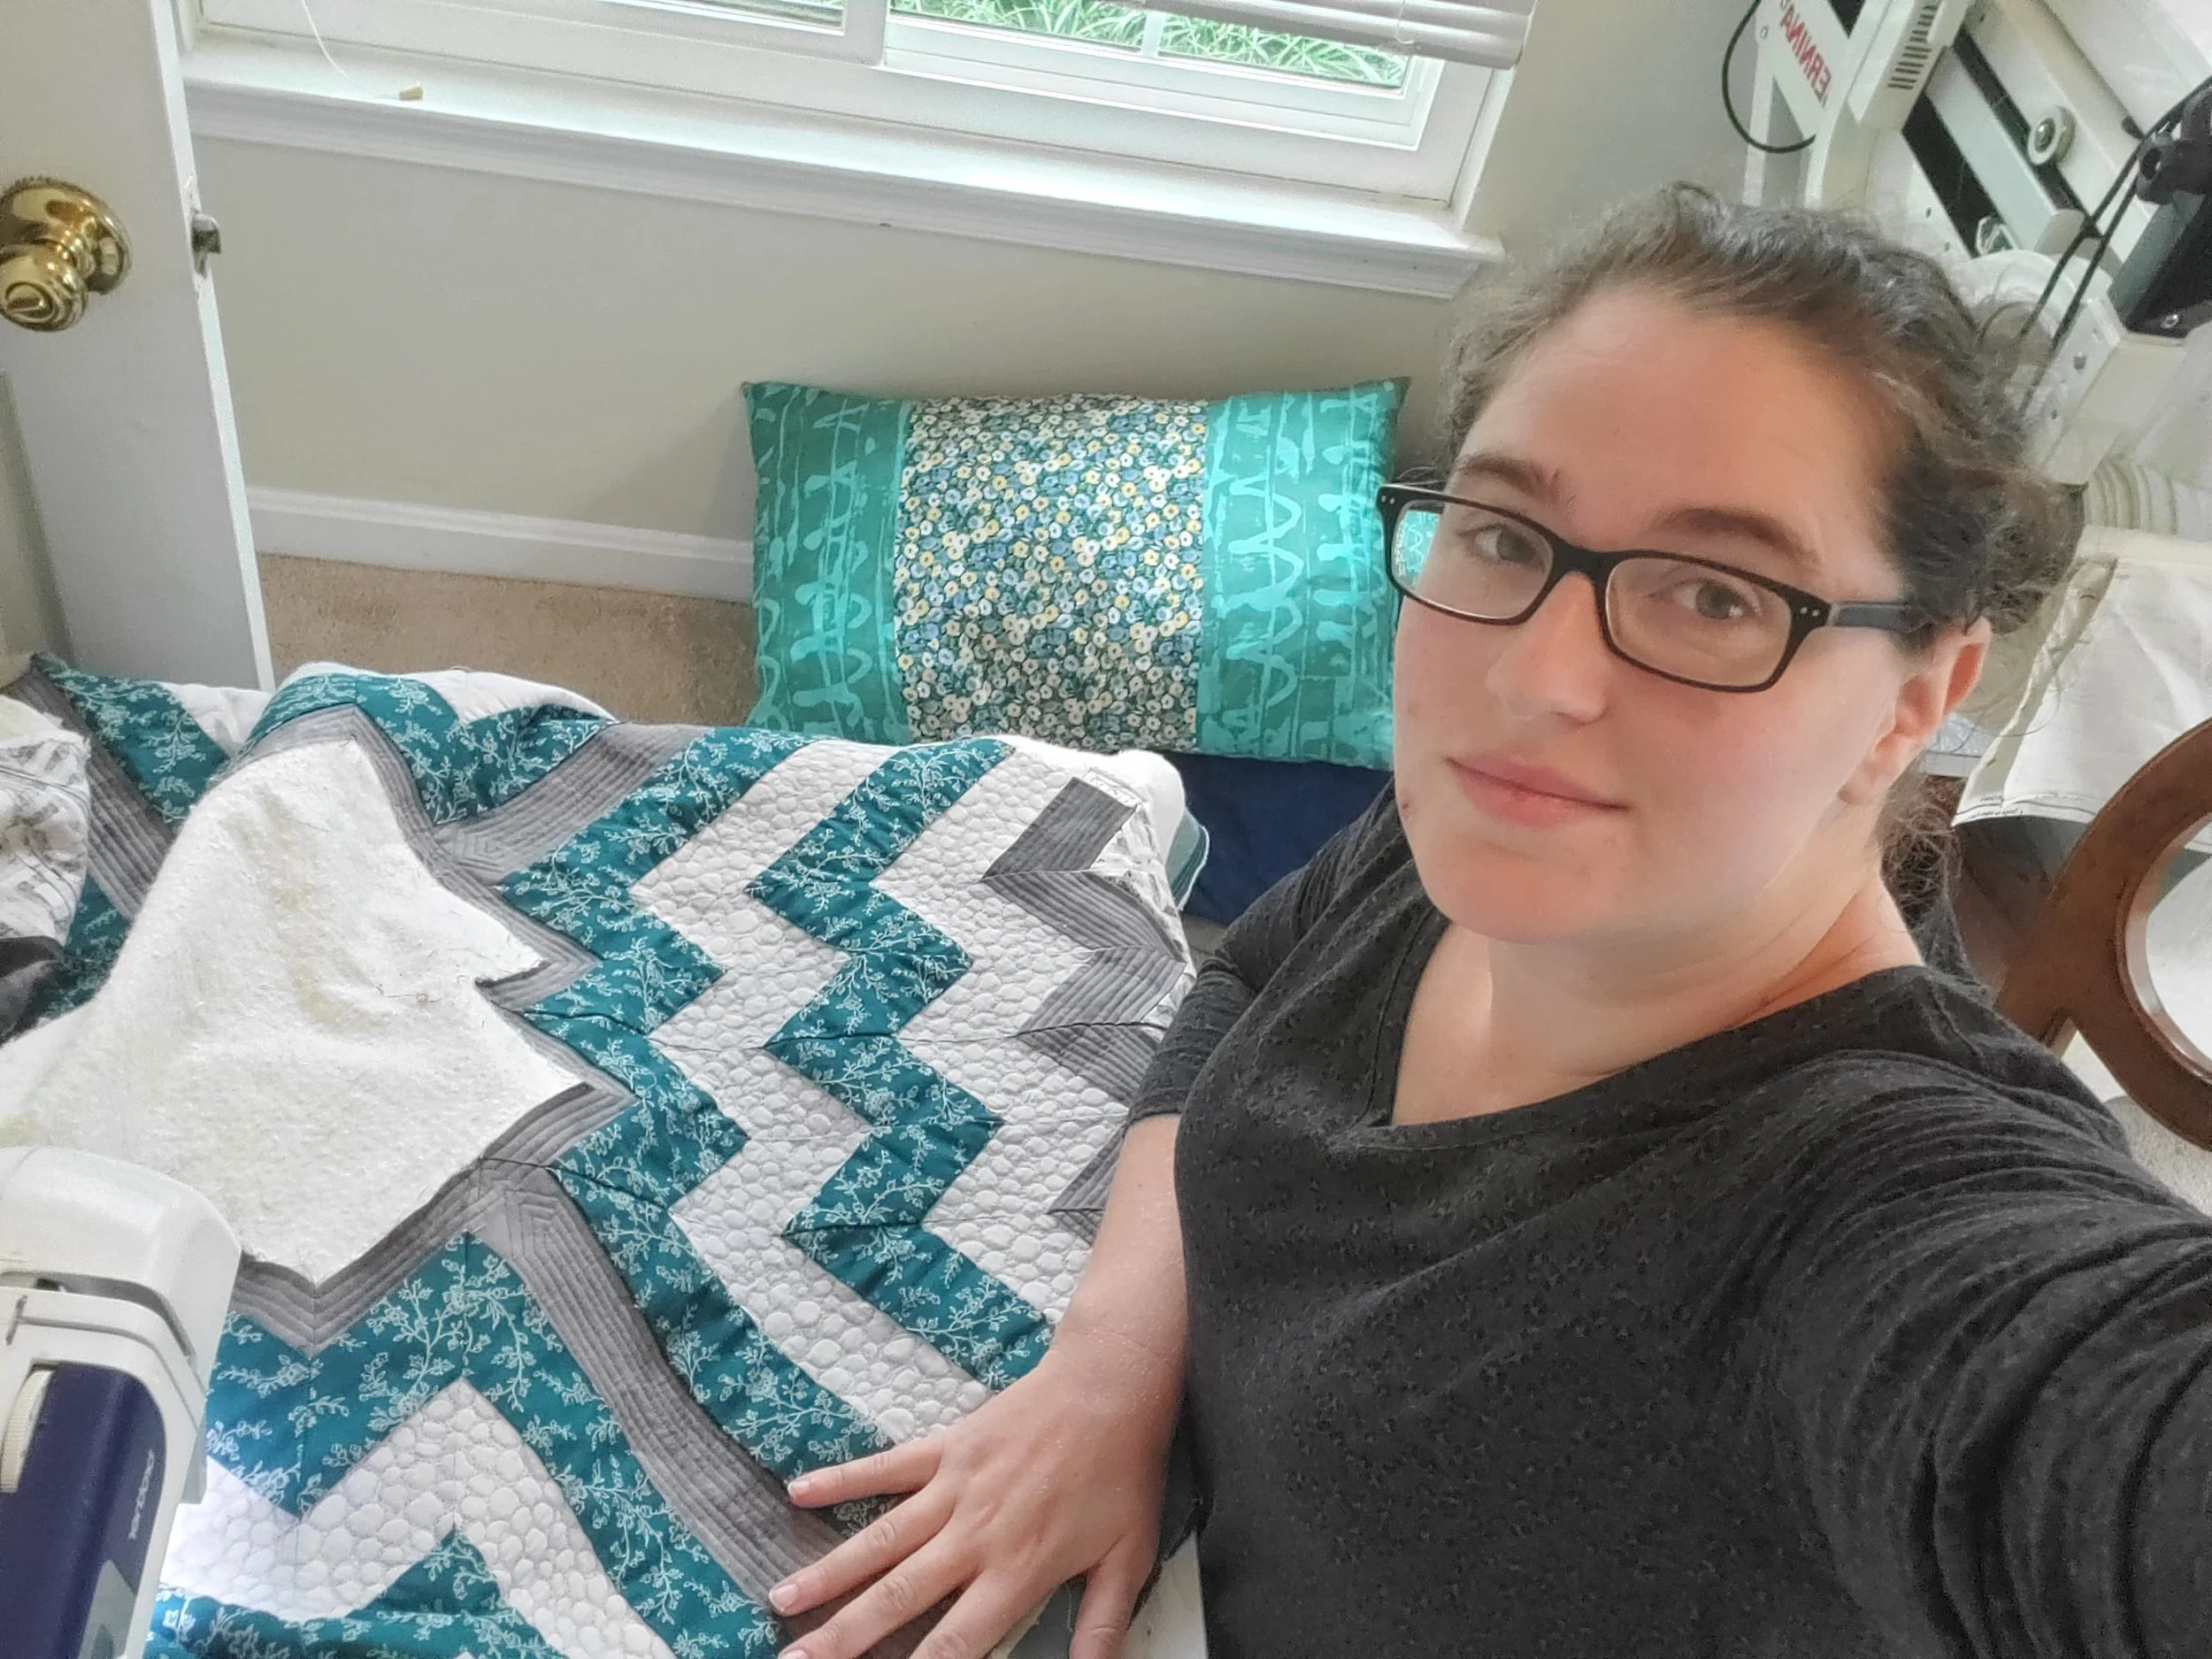
Quilting selfie at the machine!
More like guidelines, right?
You’ll often hear in the quilting community to start from the center when quilting as a general rule. It’s so that the fabric of the quilt top stretches evenly as the ‘sandwich’ is stitched together. Pretty much all quilts have a center, why wouldn’t they? So what happens when your quilt doesn’t have a center? Again, in playing with this notion of what makes ‘a quilt’, I found myself having to get creative with the stitching.
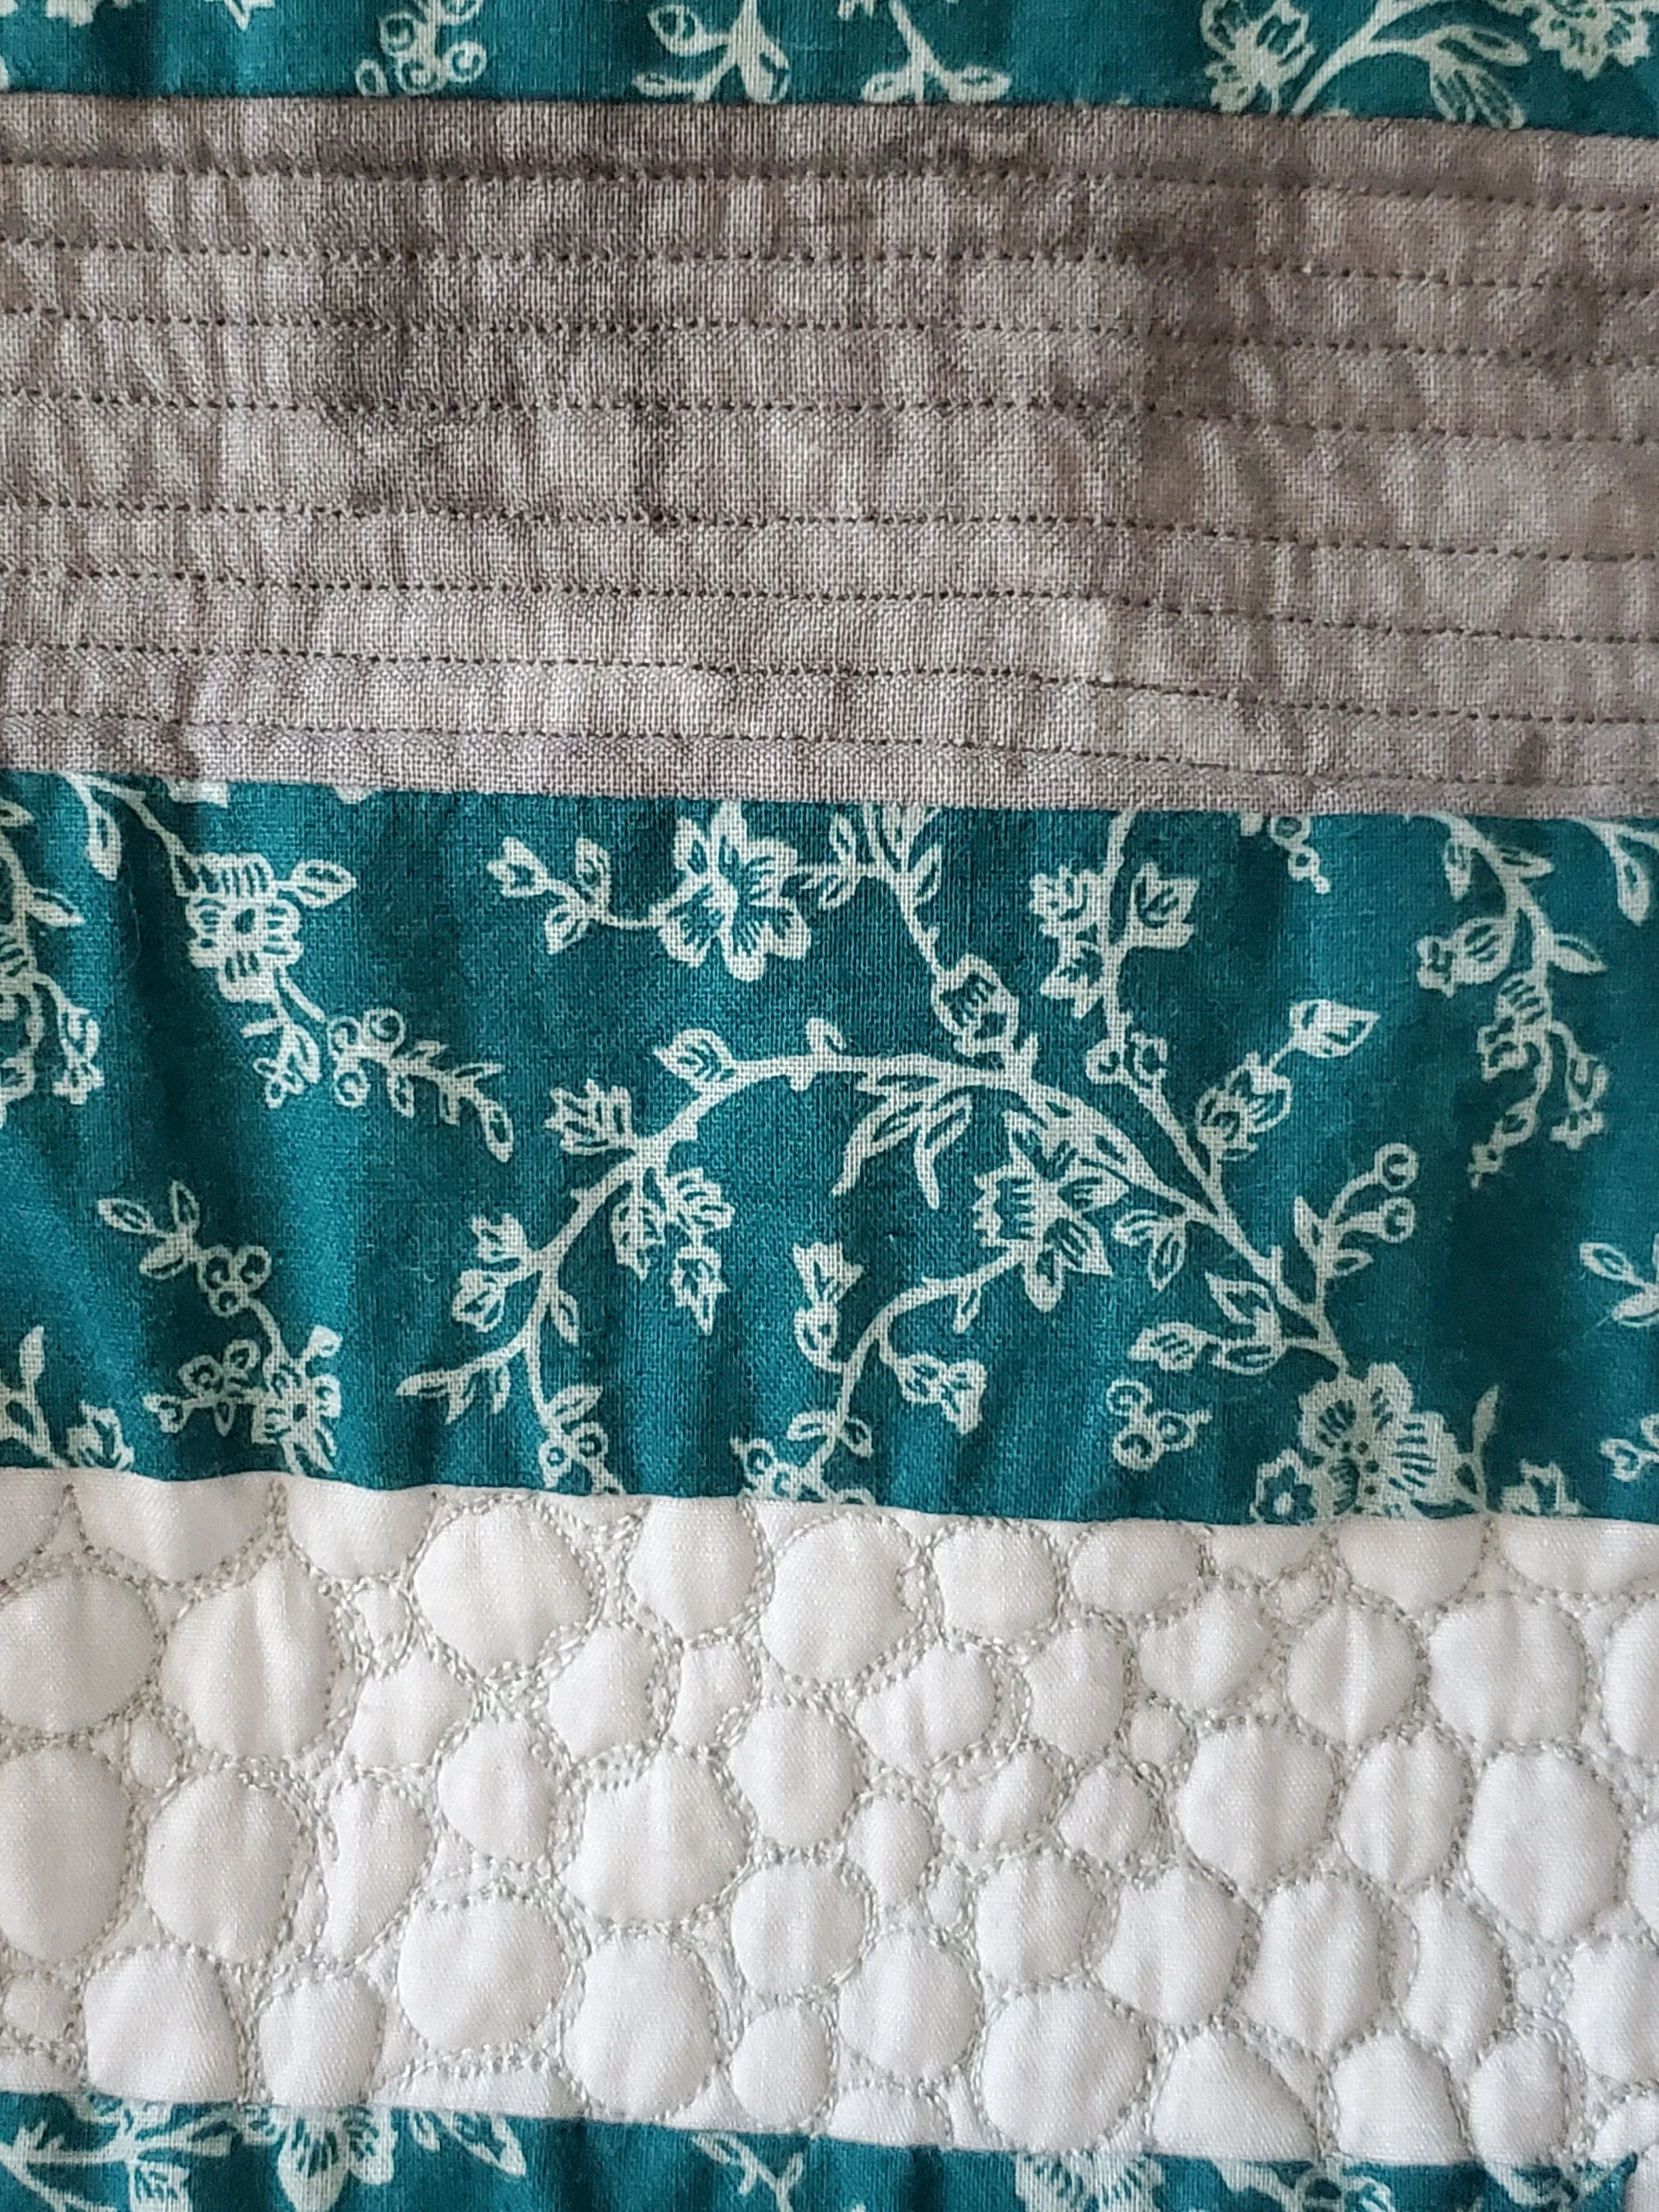
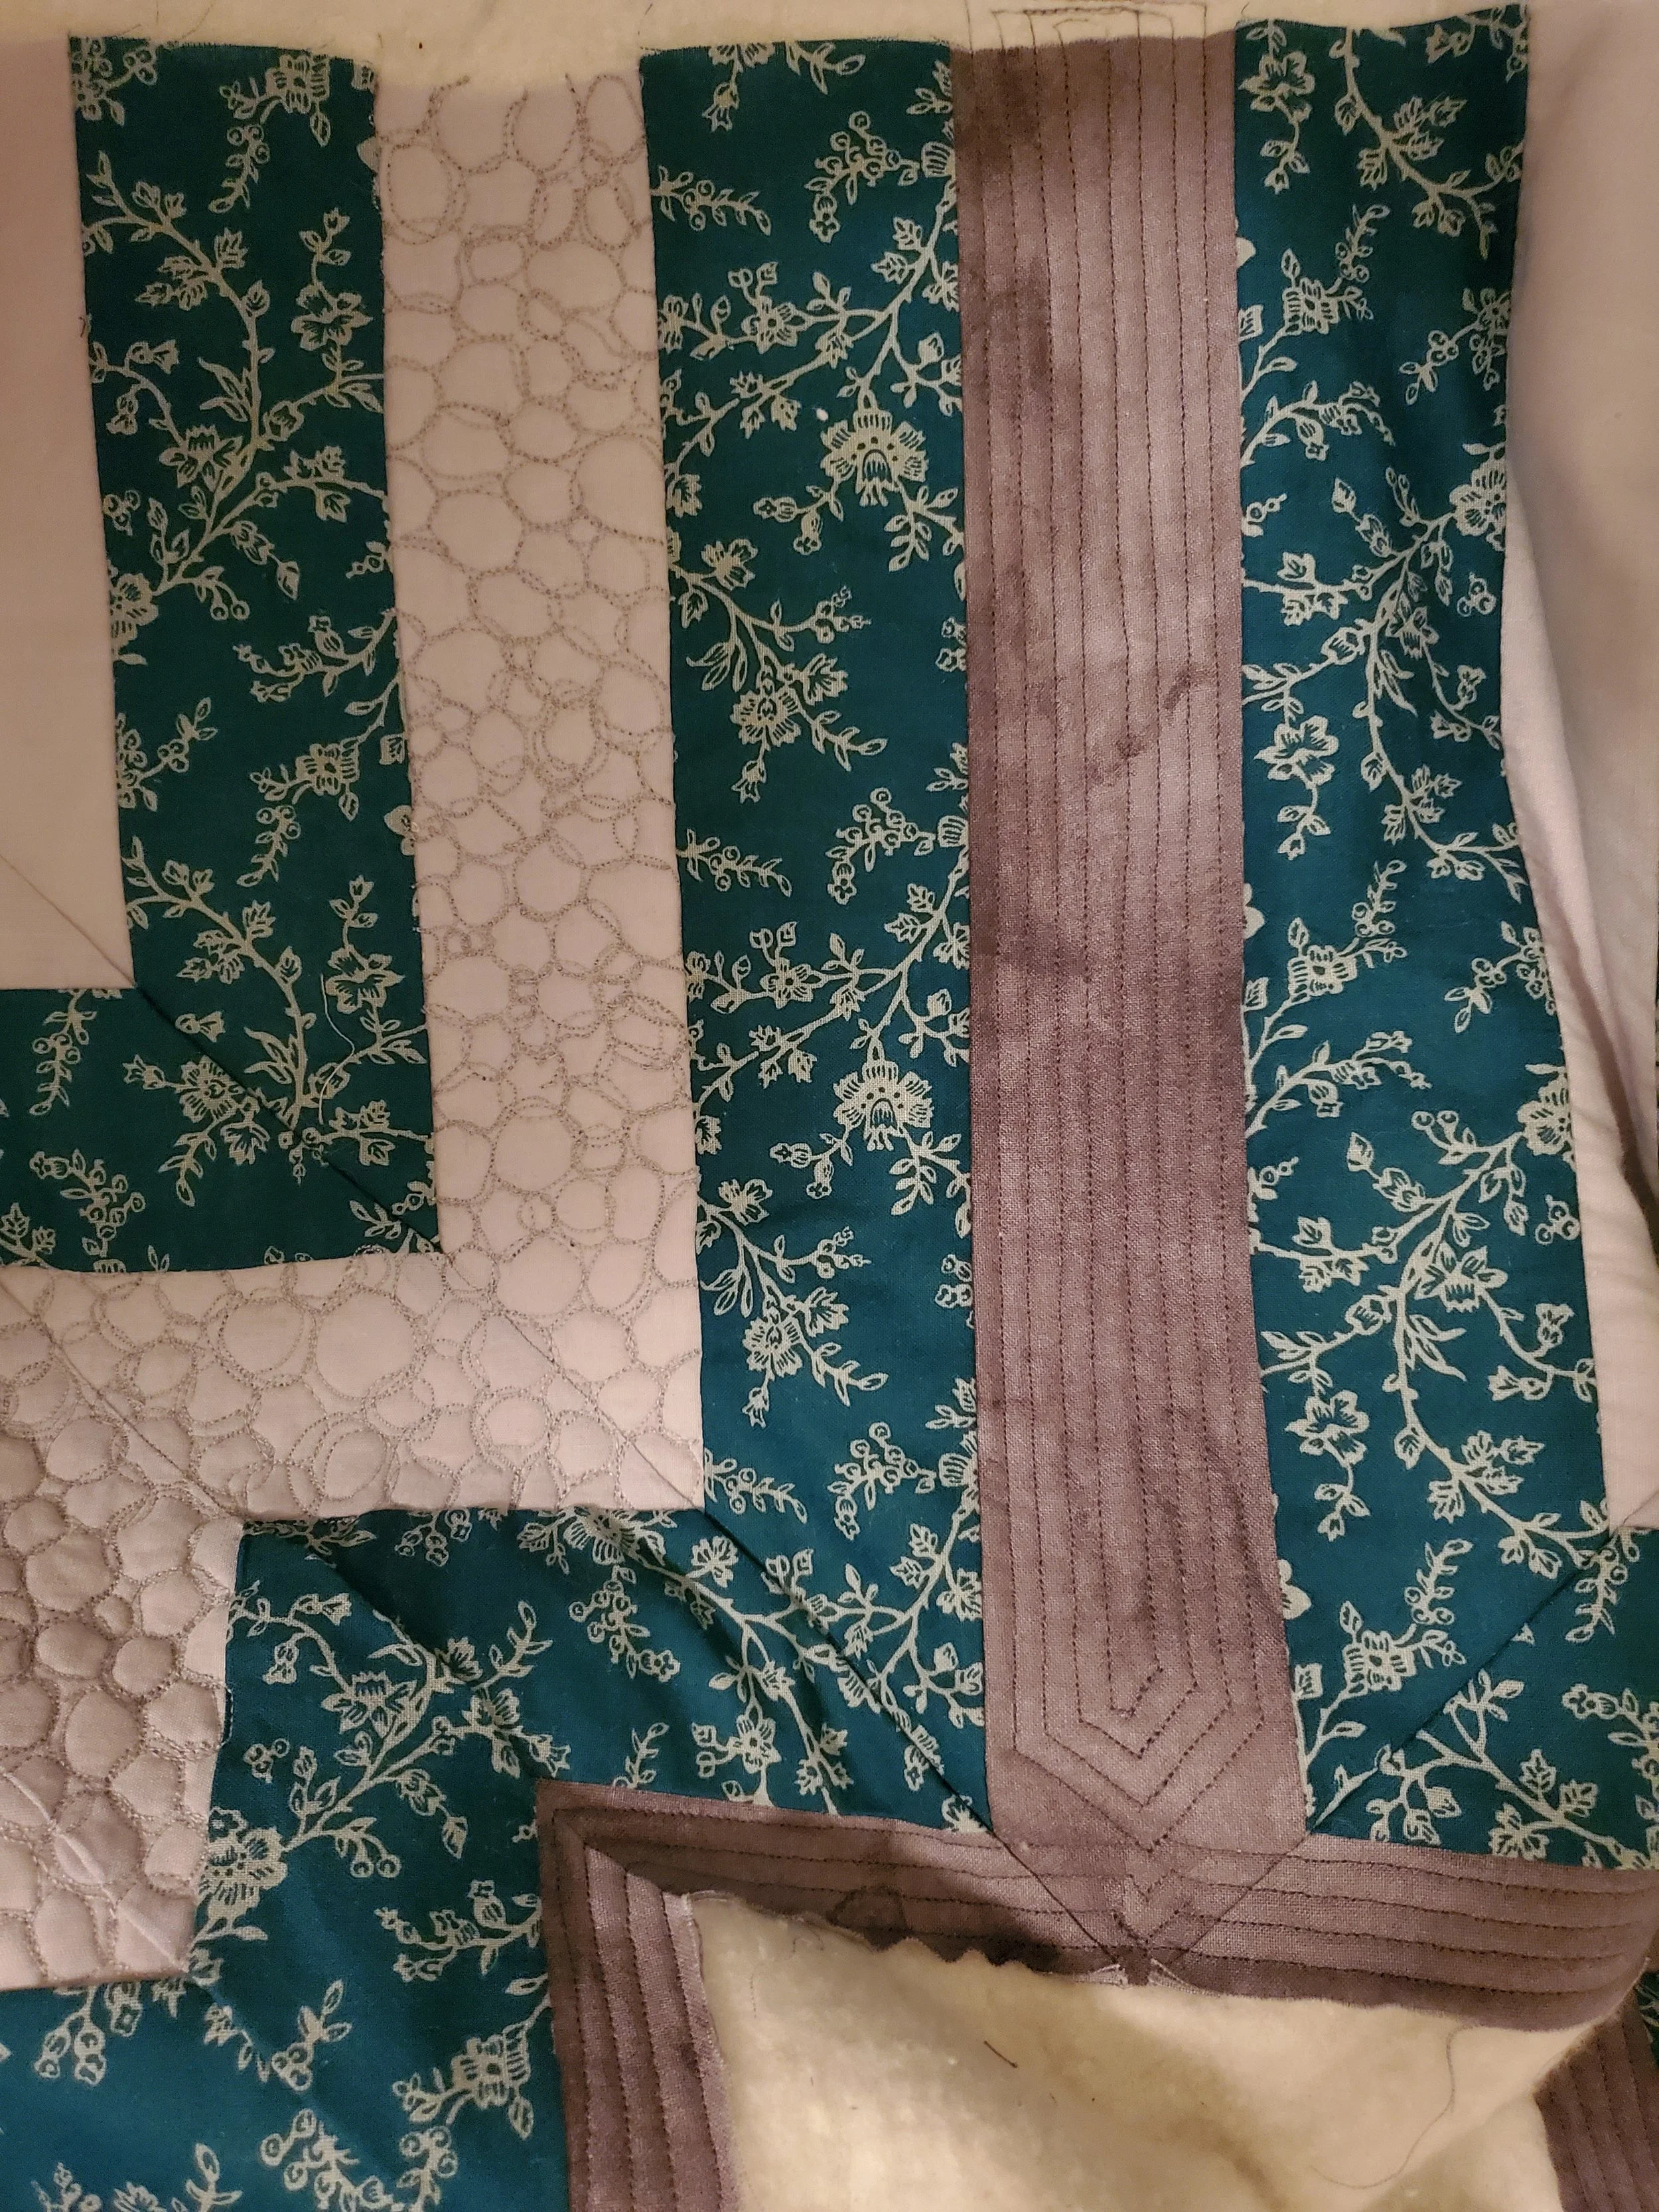
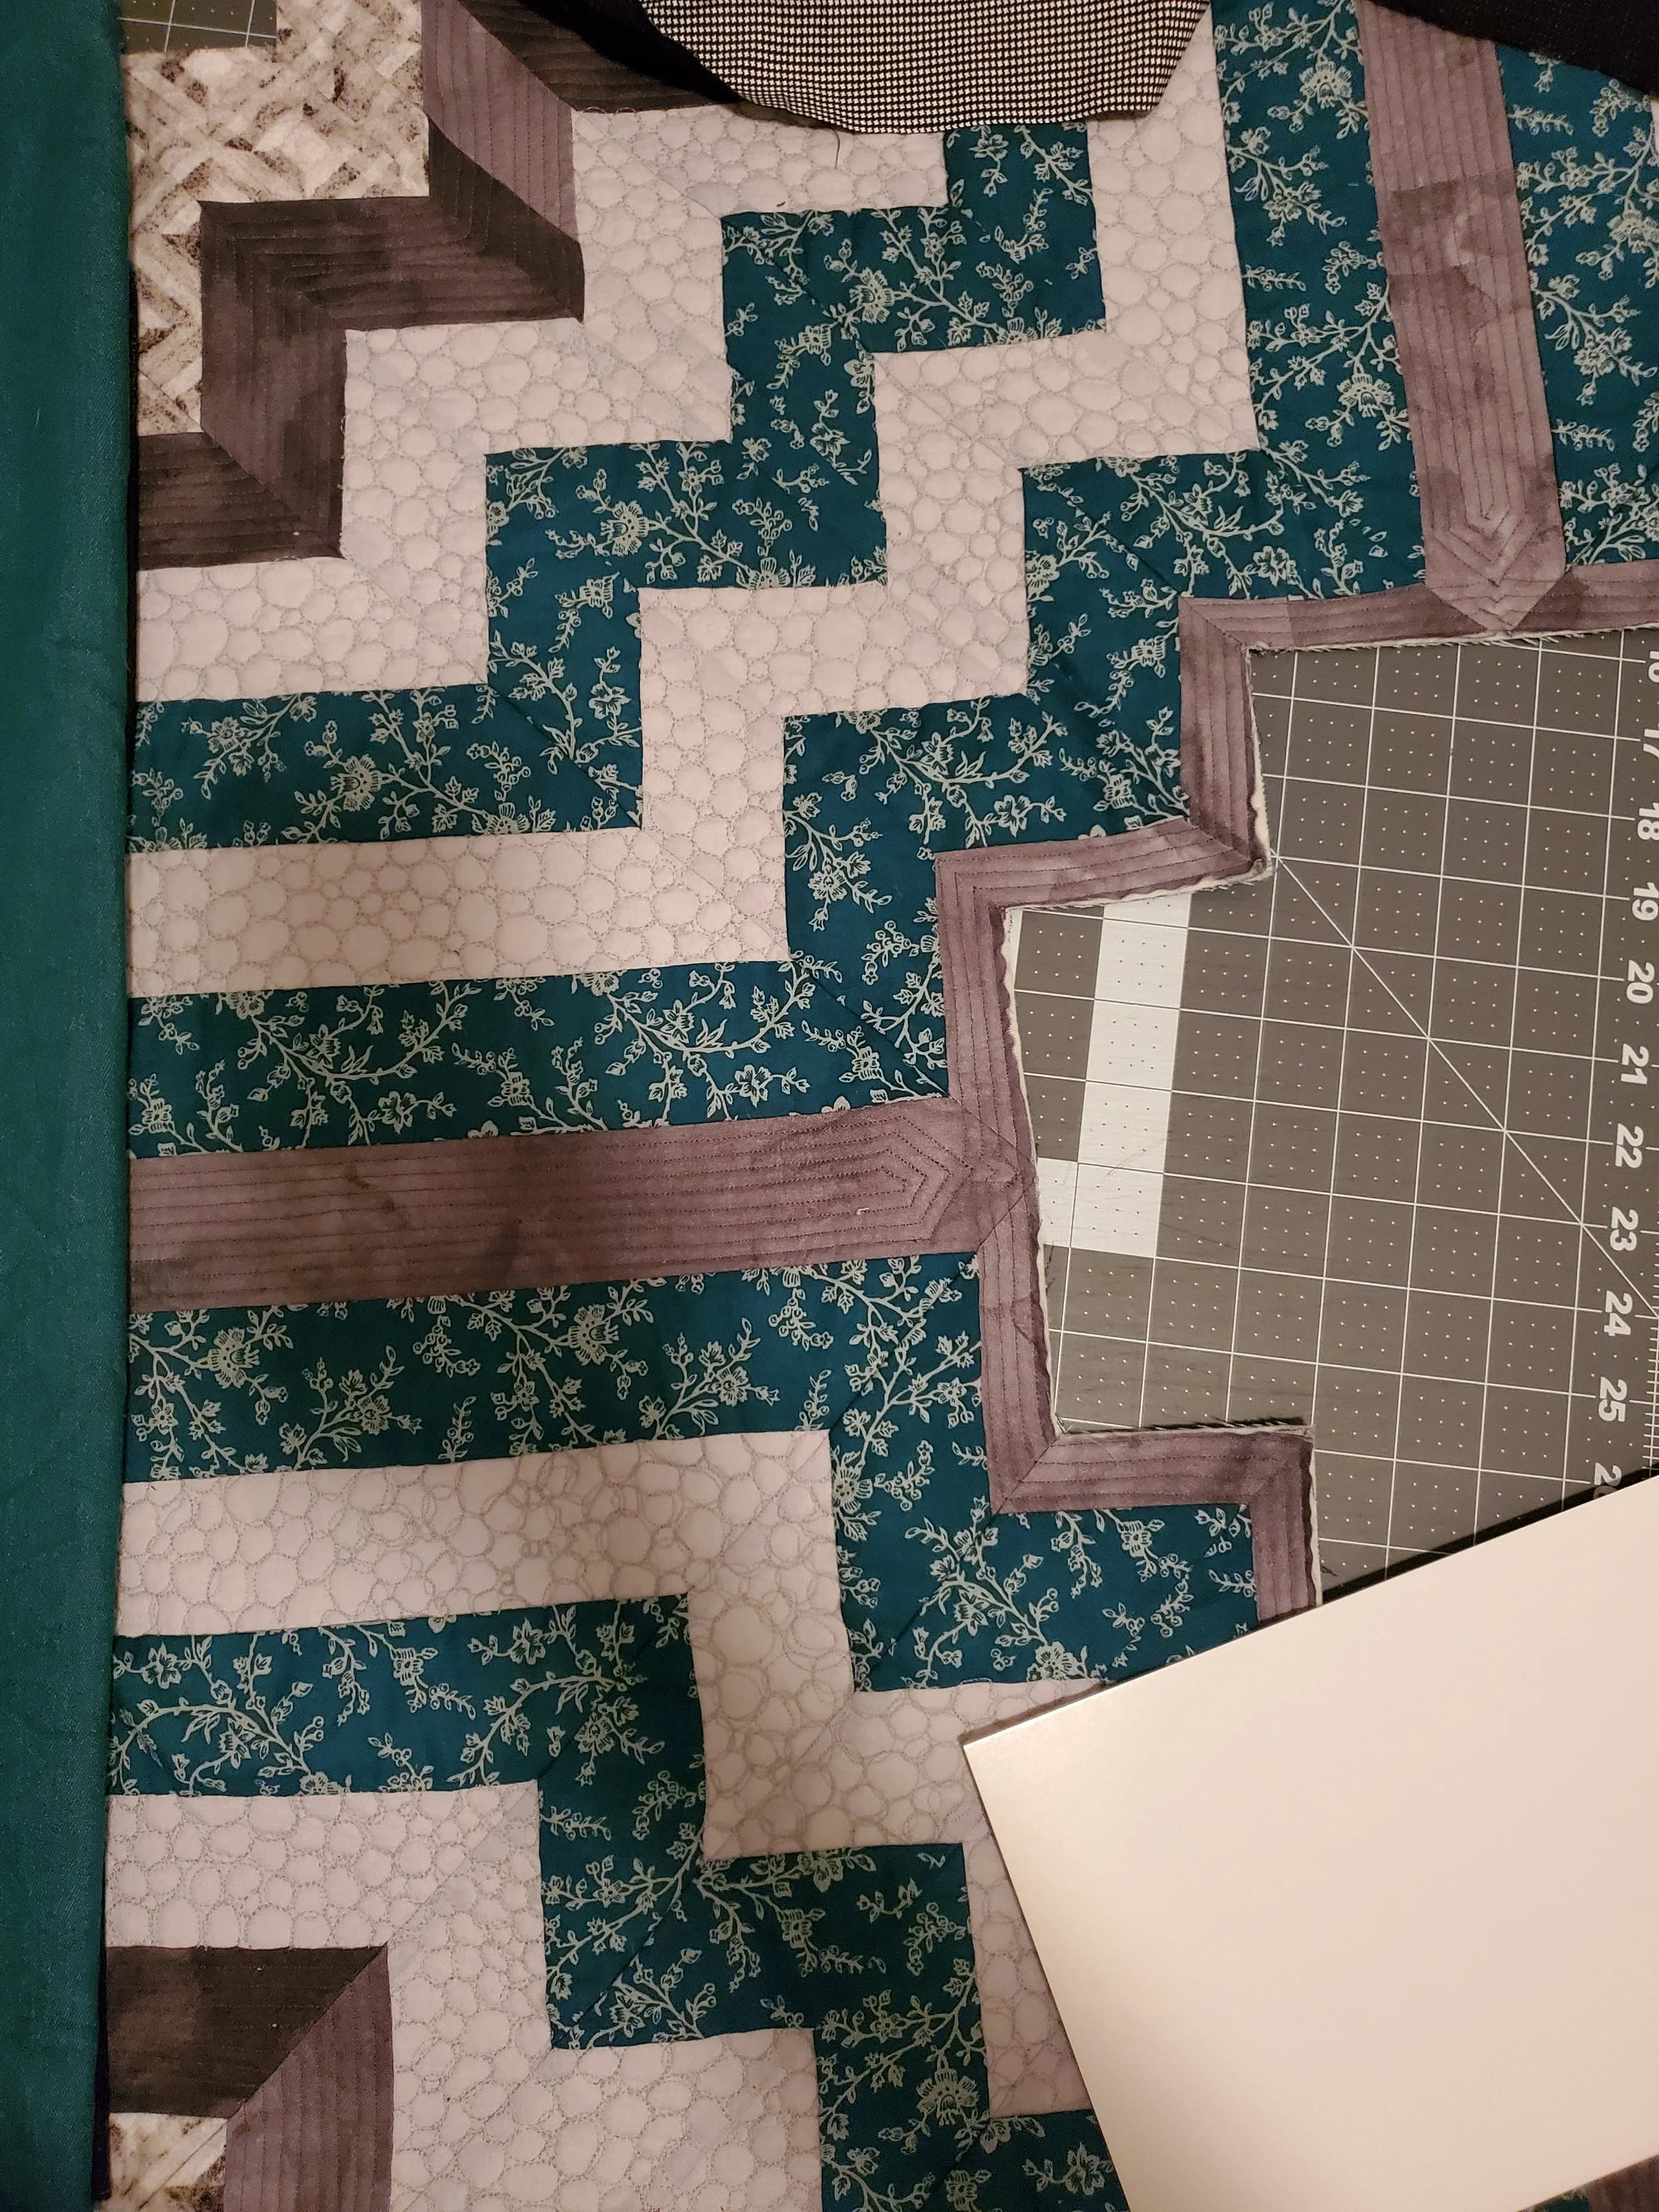
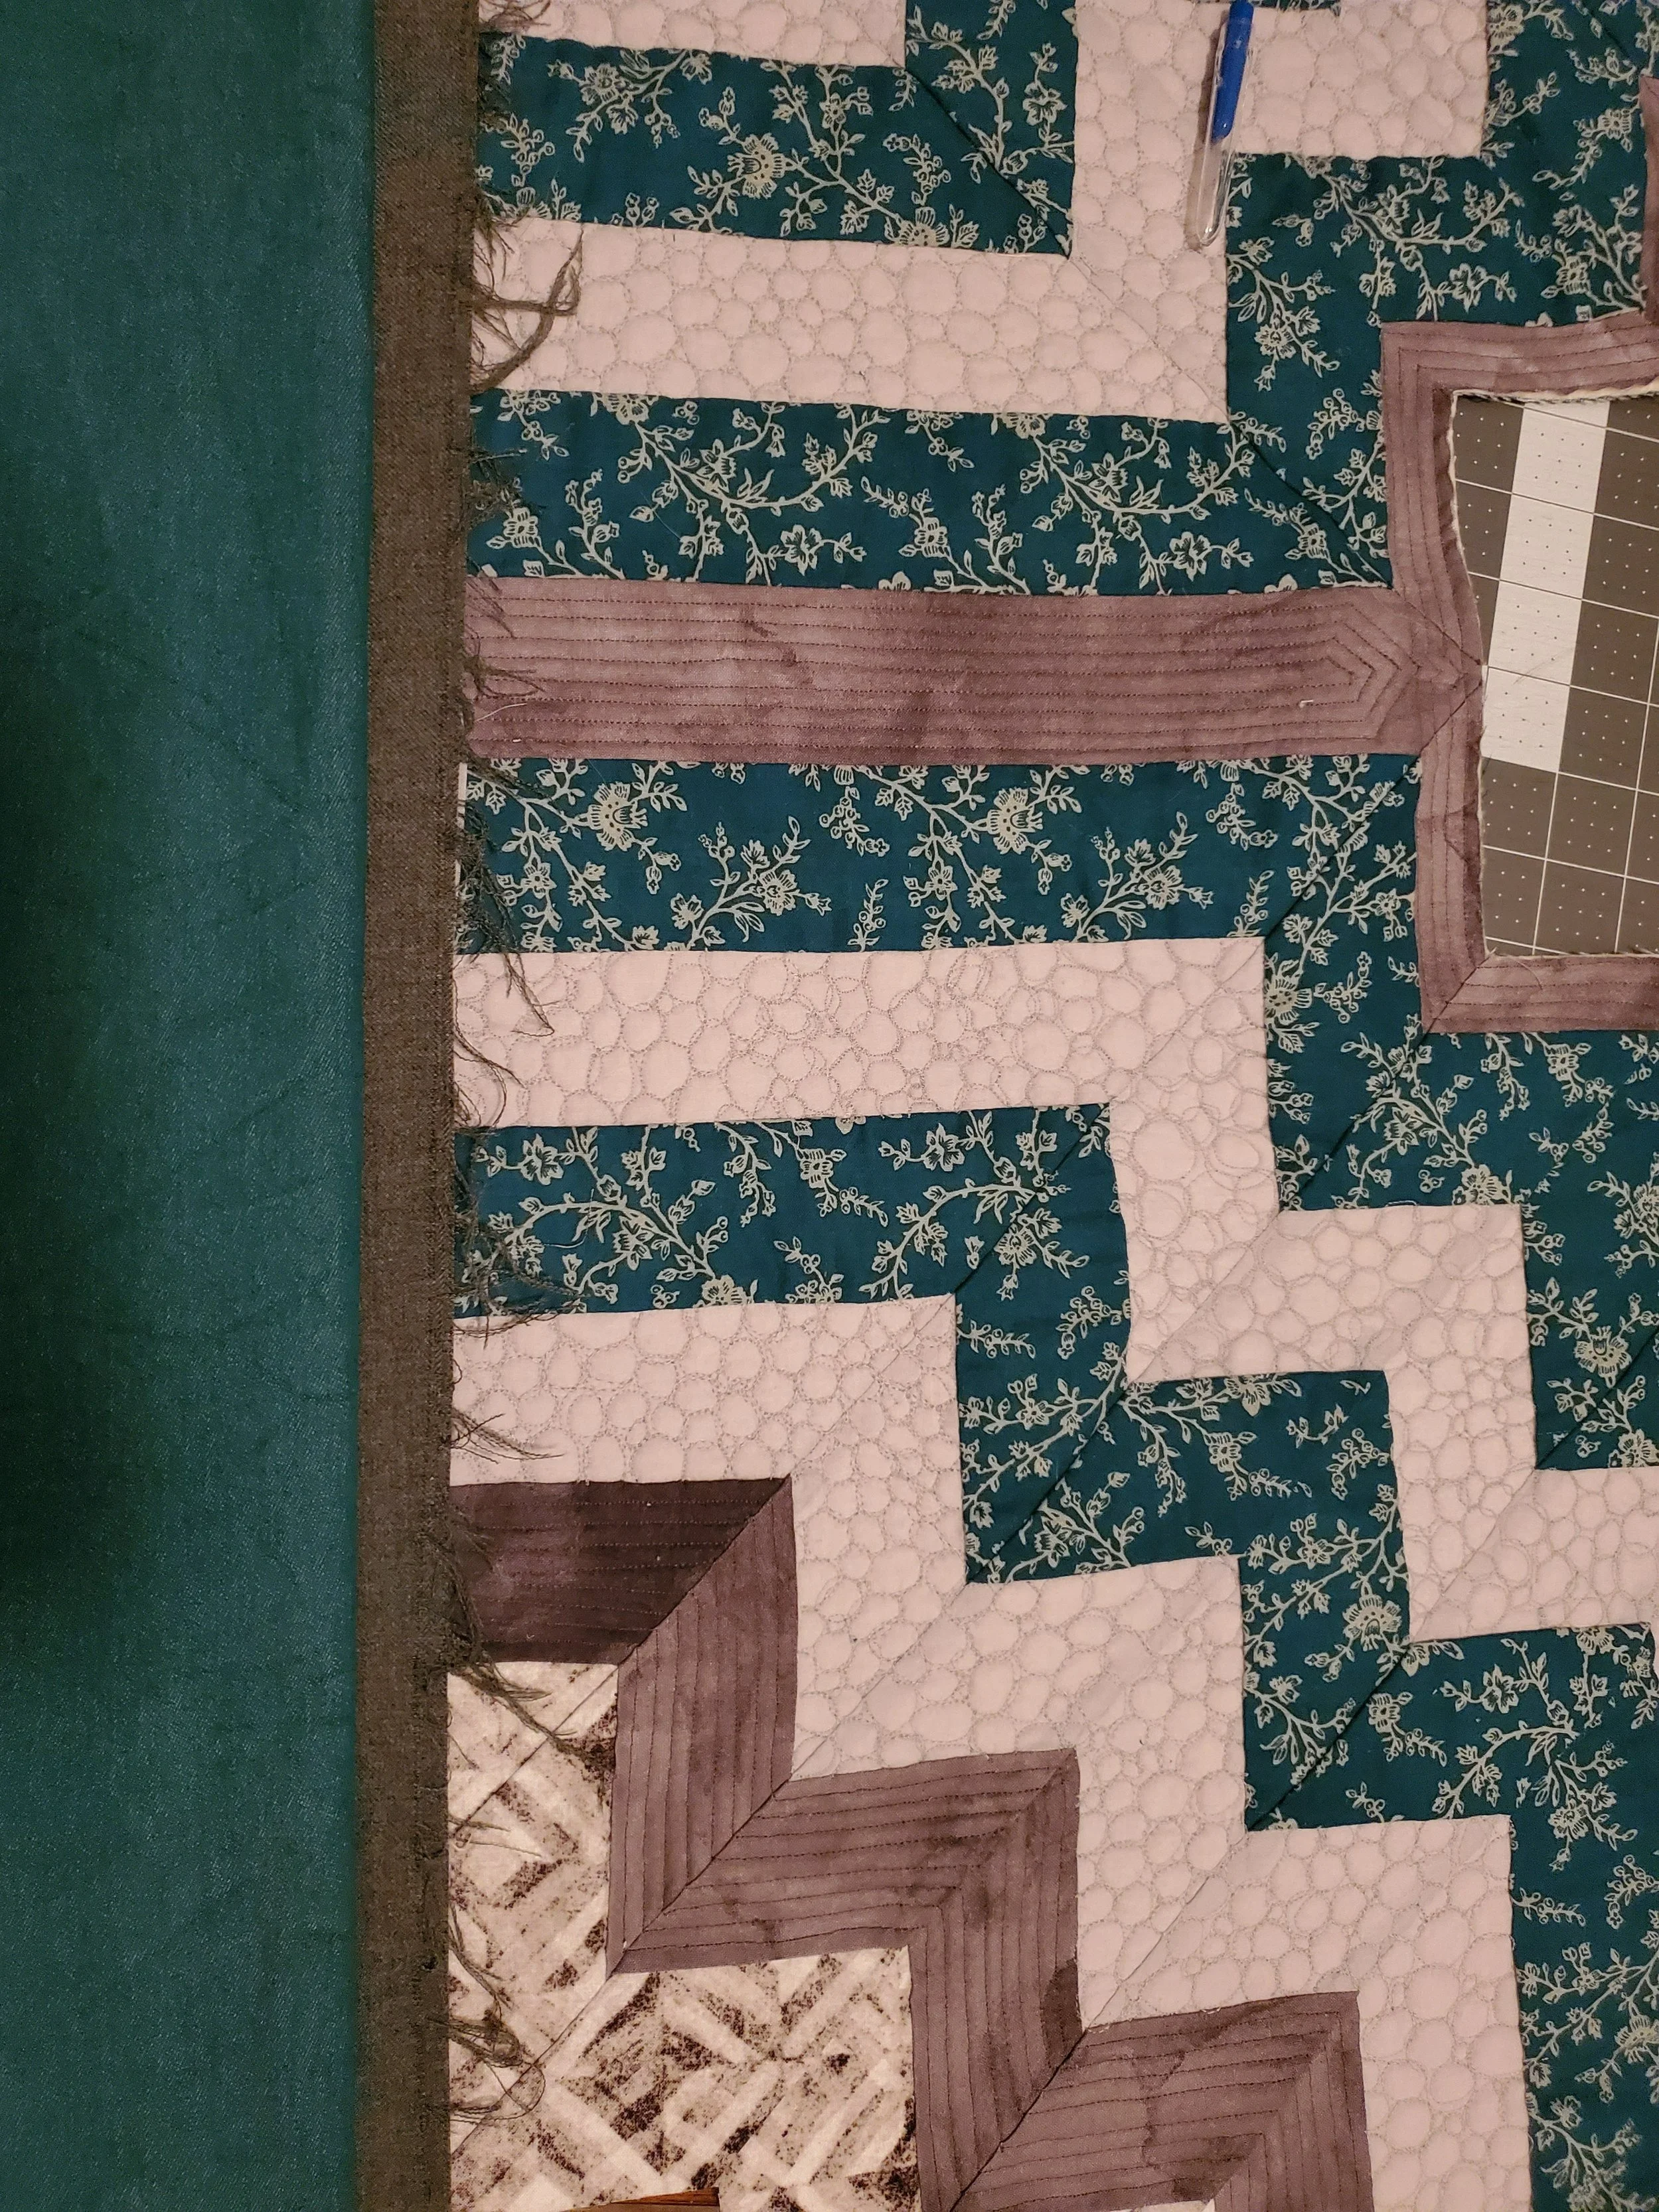
Close up of the different quilting stitches used
I started by stitching down the medium gray centers. To me, that was the closest I had to a ‘center’. I thought that if I stitched the ‘centers’ of each side of the quilt that I could probably still get close to an even spread of the sandwich. Once I saw that had worked and there was no puckering, I then decided to follow the zig-zags out from the center as well, using a pebbled free-motion stitch to add some fun texture to the light grey areas of the quilt. In trying to keep the spread of the fabric similar, I would ‘pebble’ one zig-zag, then rotate the quilt 90 degrees, pebble the same sized zig-zag as the first, rotate and repeat, until all the light gray zig-zags were completed.
I left the teal areas alone, because I really like the contrast between the print on the teal and the added texture of the plain light gray. Once I got to the medium gray on the outside corners of the quilt, I reverted back to simple line quilting in order to compliment the ‘center’ medium gray and generate a sense of movement.
Back of quilt. I used light grey thread to “ghost” the stitching from the front to the back
Another close up of the different stitches used
ALL. THE. COLORS…
Now that the quilting is done, the next step is to bind the quilt. Binding adds a nice finish and also helps to keep the fabric and stitching from coming undone. This was surprisingly troublesome for me to do - mostly because I couldn’t decide on what color binding I wanted to use!

Black binding looks nice…
Teal does as well…
The double-binding thing looks cool too…
Luckily, during this time one of the big quilting trends was two-colored binding. After seeing it on Instagram several times, I thought it could be a cool way to solve my color choice problem - I can use ALL the colors now! Of course, me being me, I decided I wanted to do a three-color binding instead of a two-color in addition to trying internal mitered corners for the first time. Because why learn just one skill at a time?! A bunch of YouTube tutorials (This one in particular is my favorite) later, I love how it turned out!


At the end of the day, Center Space went from a cutting mistake to an exercise in improvisation with plenty of opportunities to learn. A happy accident, indeed Mr. Ross!
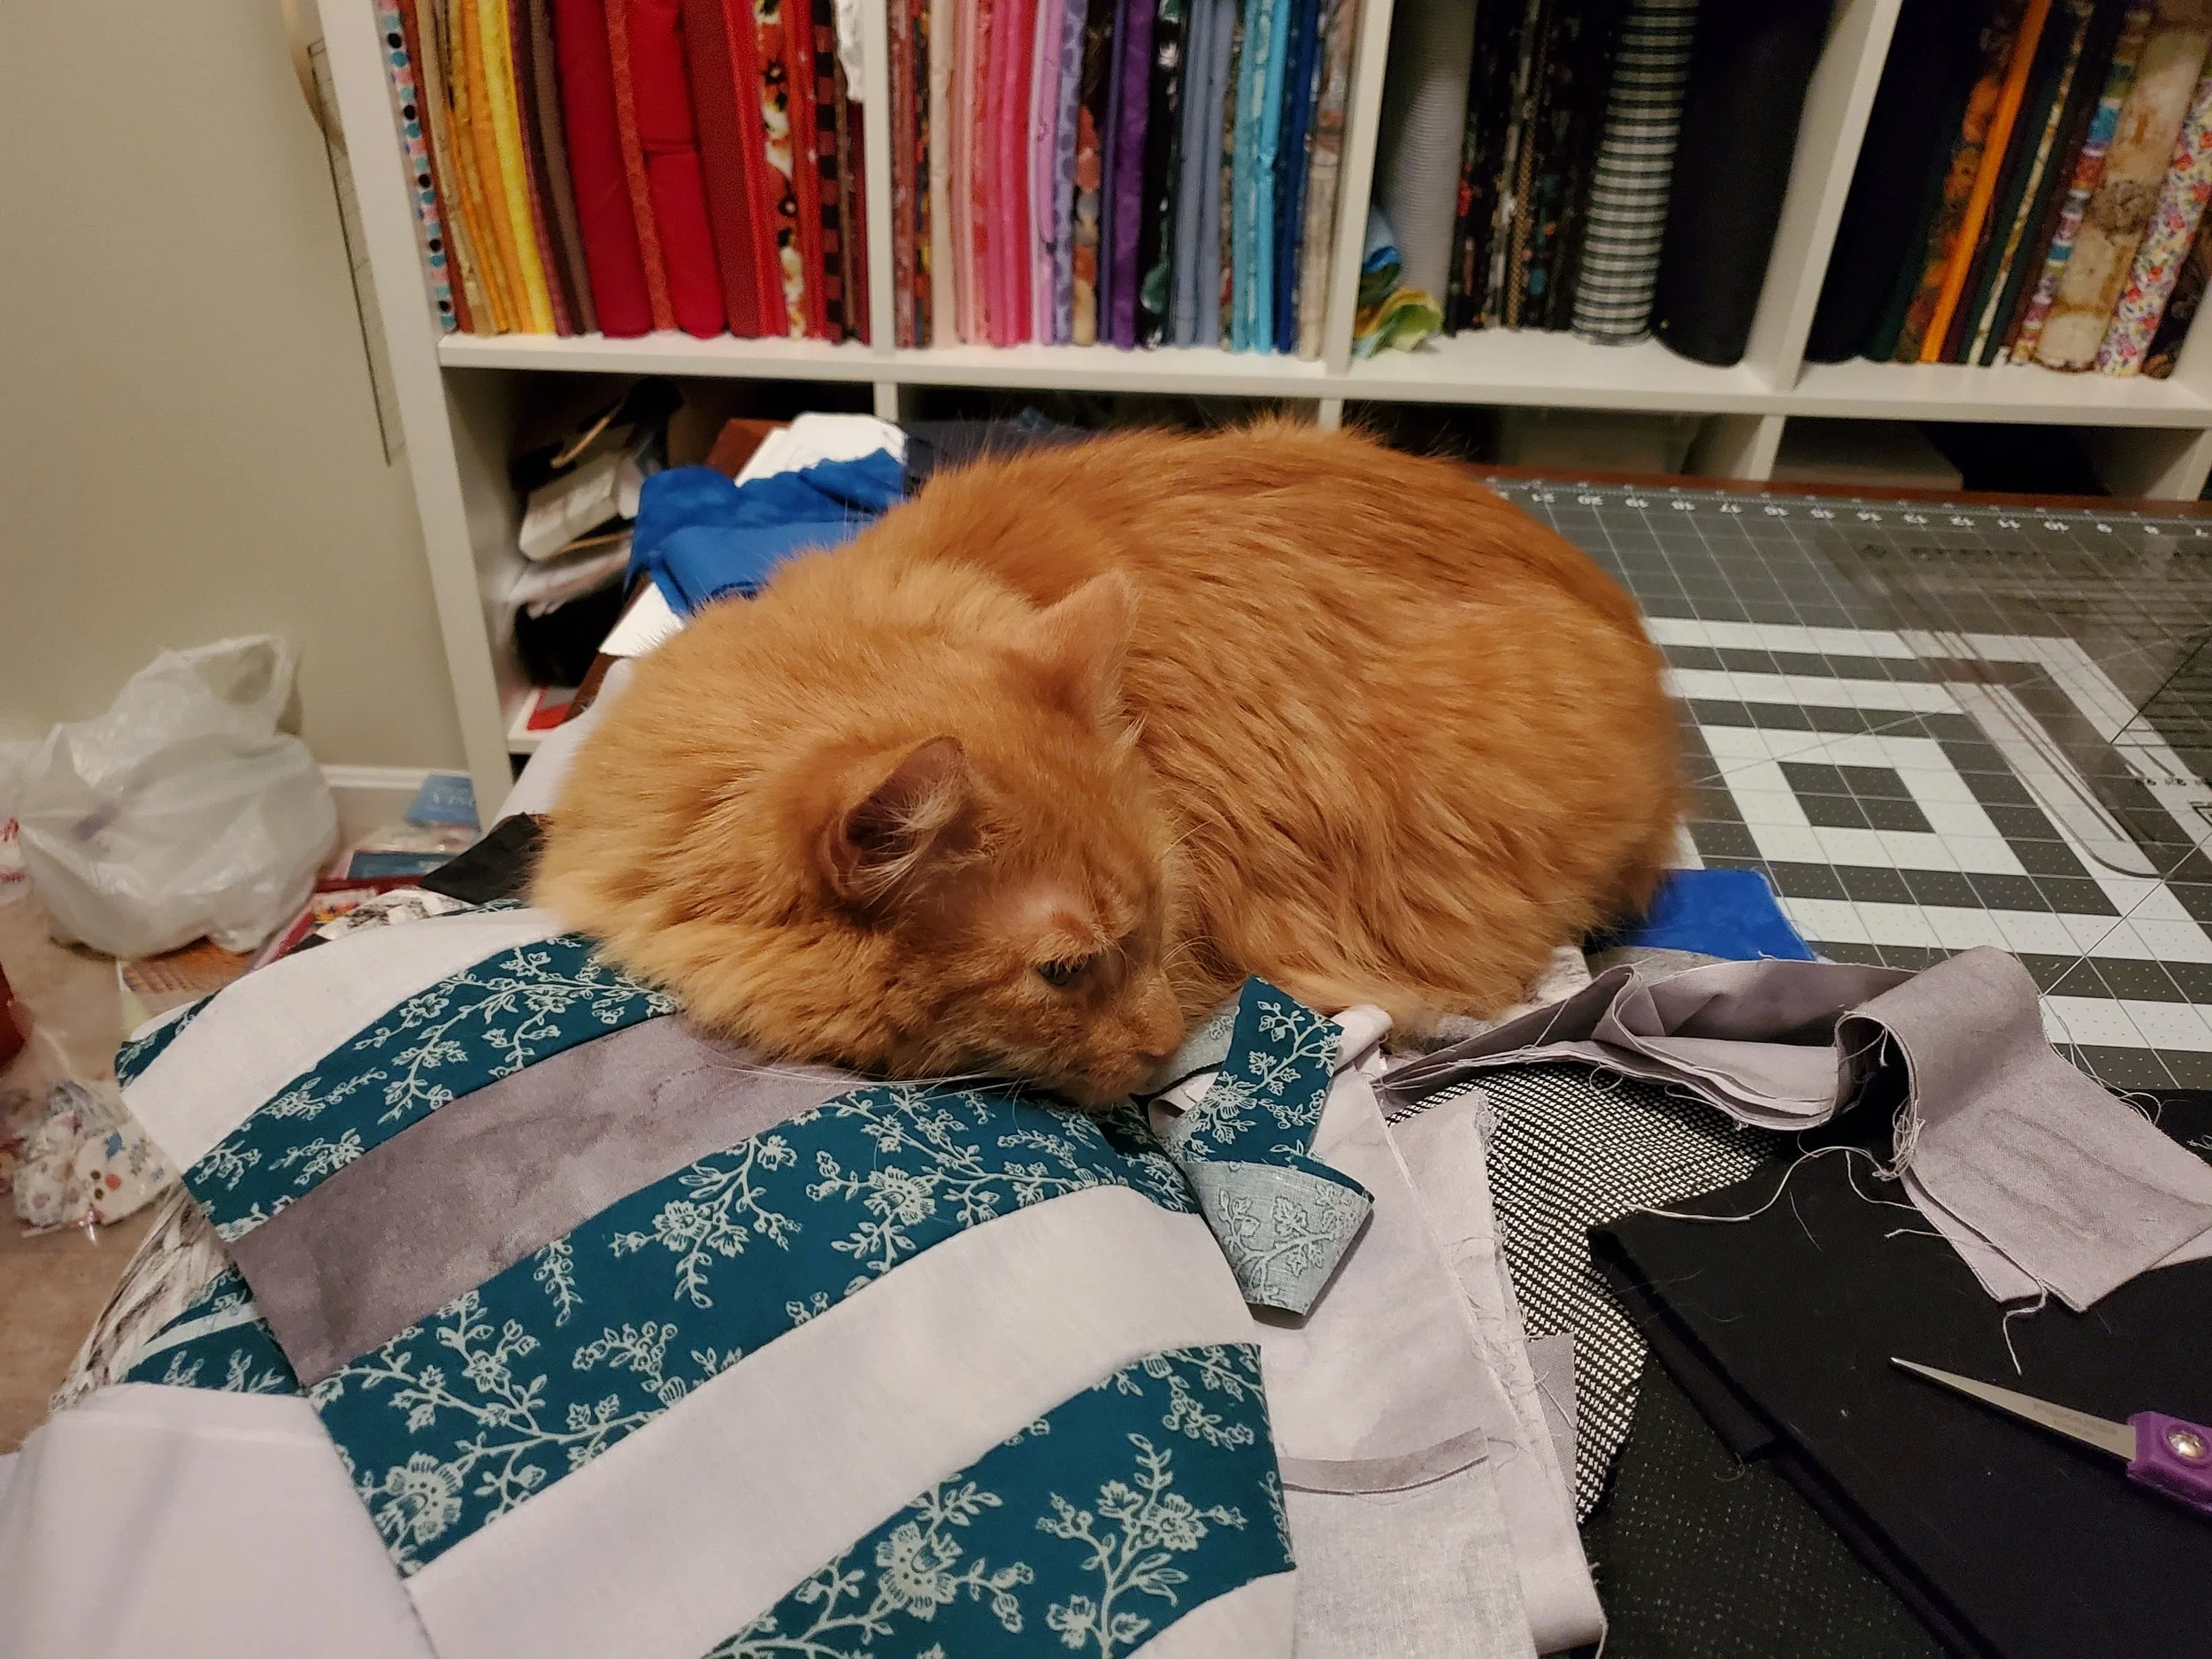
Bonus Image: Getting approval from the Studio Supervisor (aka The Bubba)