


“Leo the Lion” began as a practice piece. I had acquired some charm squares and decided I wanted to make the “Crazy 8” block with them. Once I had sewn the blocks together, I found it to be boring and decided that this could be enhanced with some applicae. But what to applicae? Then it hit me: “Crazy 8” -> 8th month of the year (August) -> Zodiac sign is Leo the Lion.
Leo the Lion: Practice Builds Skillz
Practice makes Perfect is how the old saying goes, right? Like any skill, quilting and art-making require practice.
Will my blocks always align perfectly?
No, but I’m more likely to nail it with less mistakes the more I make.
Can I keep my applicae from fraying while I’m stitching it down?
A wee bit, but I have to keep doing applicae to find out what anti-fray method I like best.
I’ve accepted that my work will never be “prefect”. But I still think practice is important. As a 12 year-old once told me ten years ago (as of the time of this writing):
Practice doesn’t make you perfect. It simply makes you better. If you were perfect, you’d be boring.
Personally, I kinda like this take on practice. Practice makes you better, not perfect.
What to do, what to do, what to do…
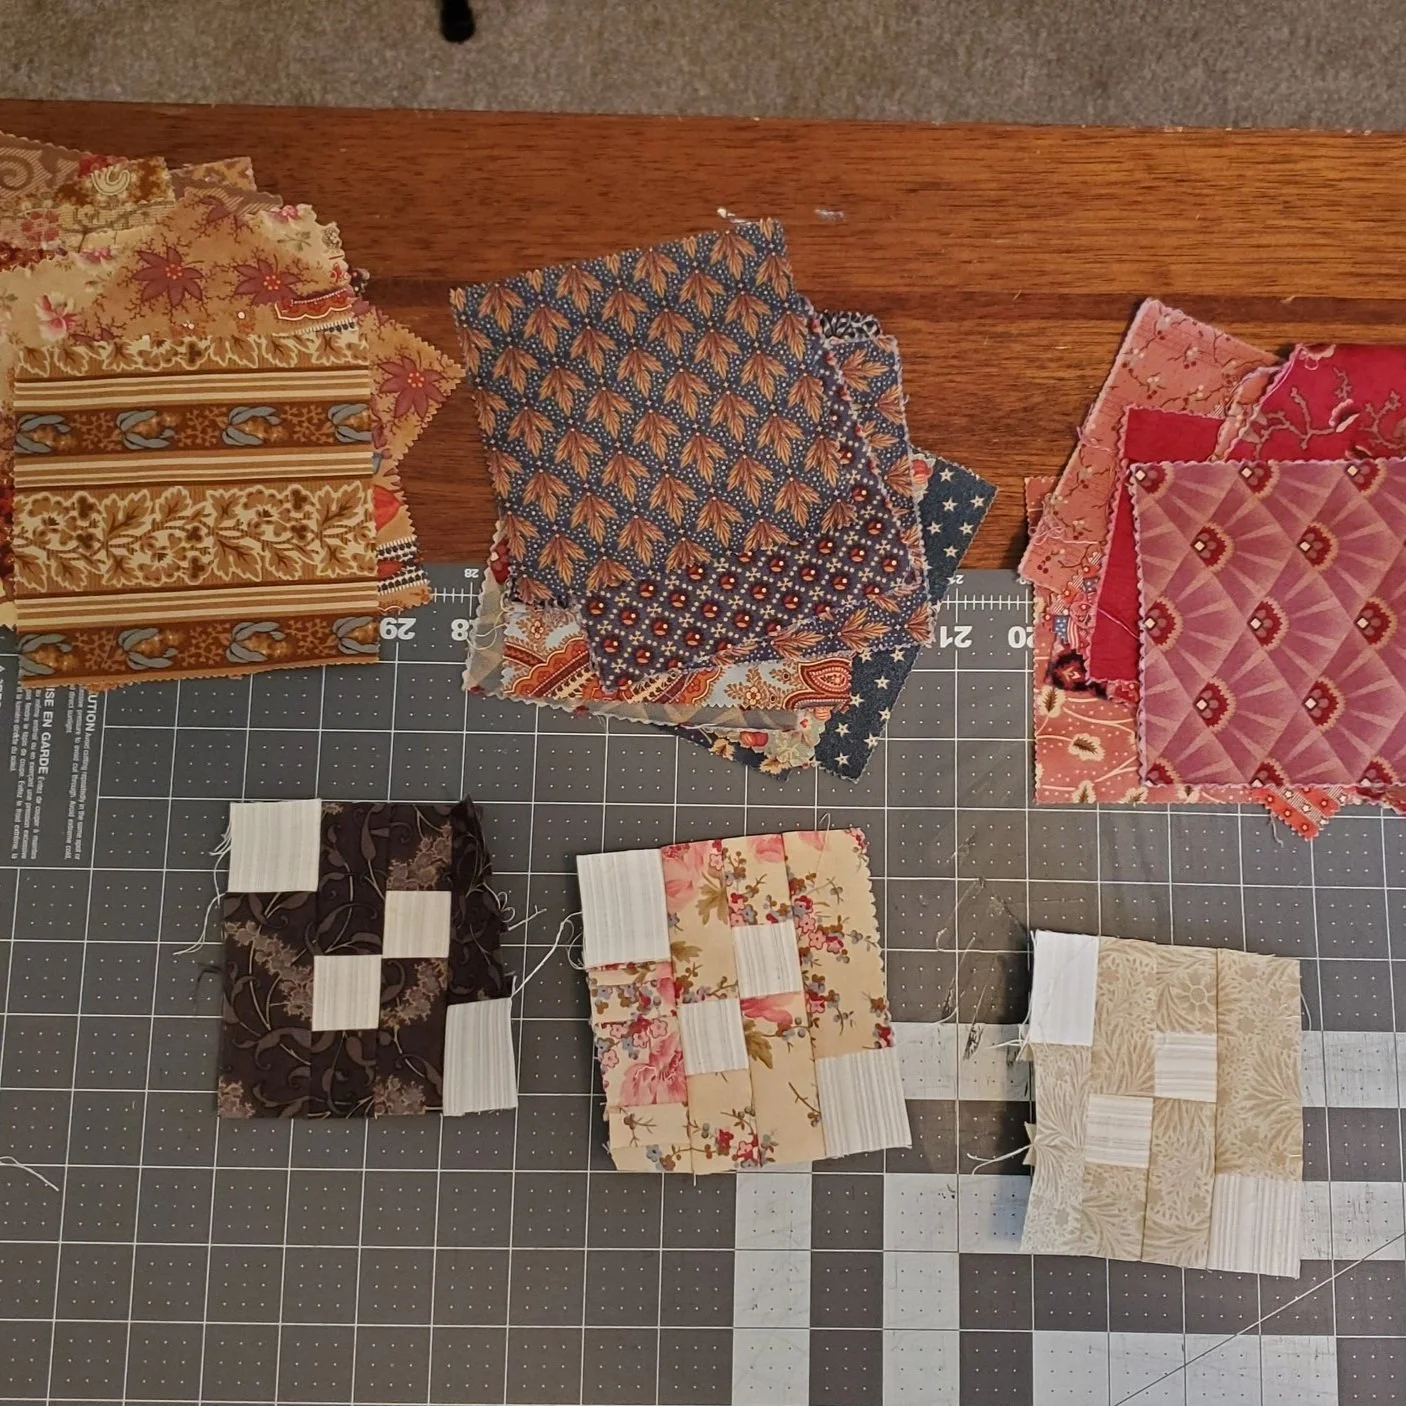
So, how did this begin? I somehow acquired a pile of seemingly mismatching charm squares (5” pre-cuts for those not familiar with quilty terms just yet). I’m not one to typically use pre-cuts, but I really like the challenge of figuring out how to make scraps work together that seemingly don’t go together.
After studying them for a bit I realized that while these charm squares were from a variety of different color families (i.e. blue, tan, black, red, etc), they were all similar in their color tone. Color tone refers how much grey has been added to the original pure color hue. So, by recognizing the similarity of the tones, I realized that’s how I could make these pre-cuts play nice with each other. I chose the brightest white I had in my stash, because white can help calm down more saturated colors, as well as offer a place to rest the eye and act as a tread of continuity when working with a variety of colors.
Bonus: since I don’t typically work with pre-cuts, using these also guys seemed like it could be a great way to practice some skill building. Practice makes you better right?
The first question was, “What do I do with these?” And being the researcher I am, I started looking for some blocks I had not made before that could could work with 5” pre-cuts. Which is where I discovered the “Crazy 8” quilt block. I’m not sure why I gravitated towards it for this project other than it looked fun to try.
Given that I only had 5” of fabric to work with to create each block, this also was a lesson/practice in measure 4x, cut once and make it work lol.
So, I’m not going to go into detail here about how I made the “Crazy 8” blocks. You can find that tutorial here.
However, this is a fun little video about why we measure 4x, cut once:
“Crazy 8’s” found Crazy boring…
Alrighty, so fast forward (unless you want to see the tutorial) and all the “Crazy 8” blocks are made. Now it’s LAYOUT TIME!!!!
This is one of my favorite parts of quilt making - especially if I’m just practicing and do not have a specific look I’m going for. There’s a ton of room to play and explore with the quilt top. Also, I never know what the final product will look like with a practice piece like this and that unpredictability adds a certain level of excitement for me.
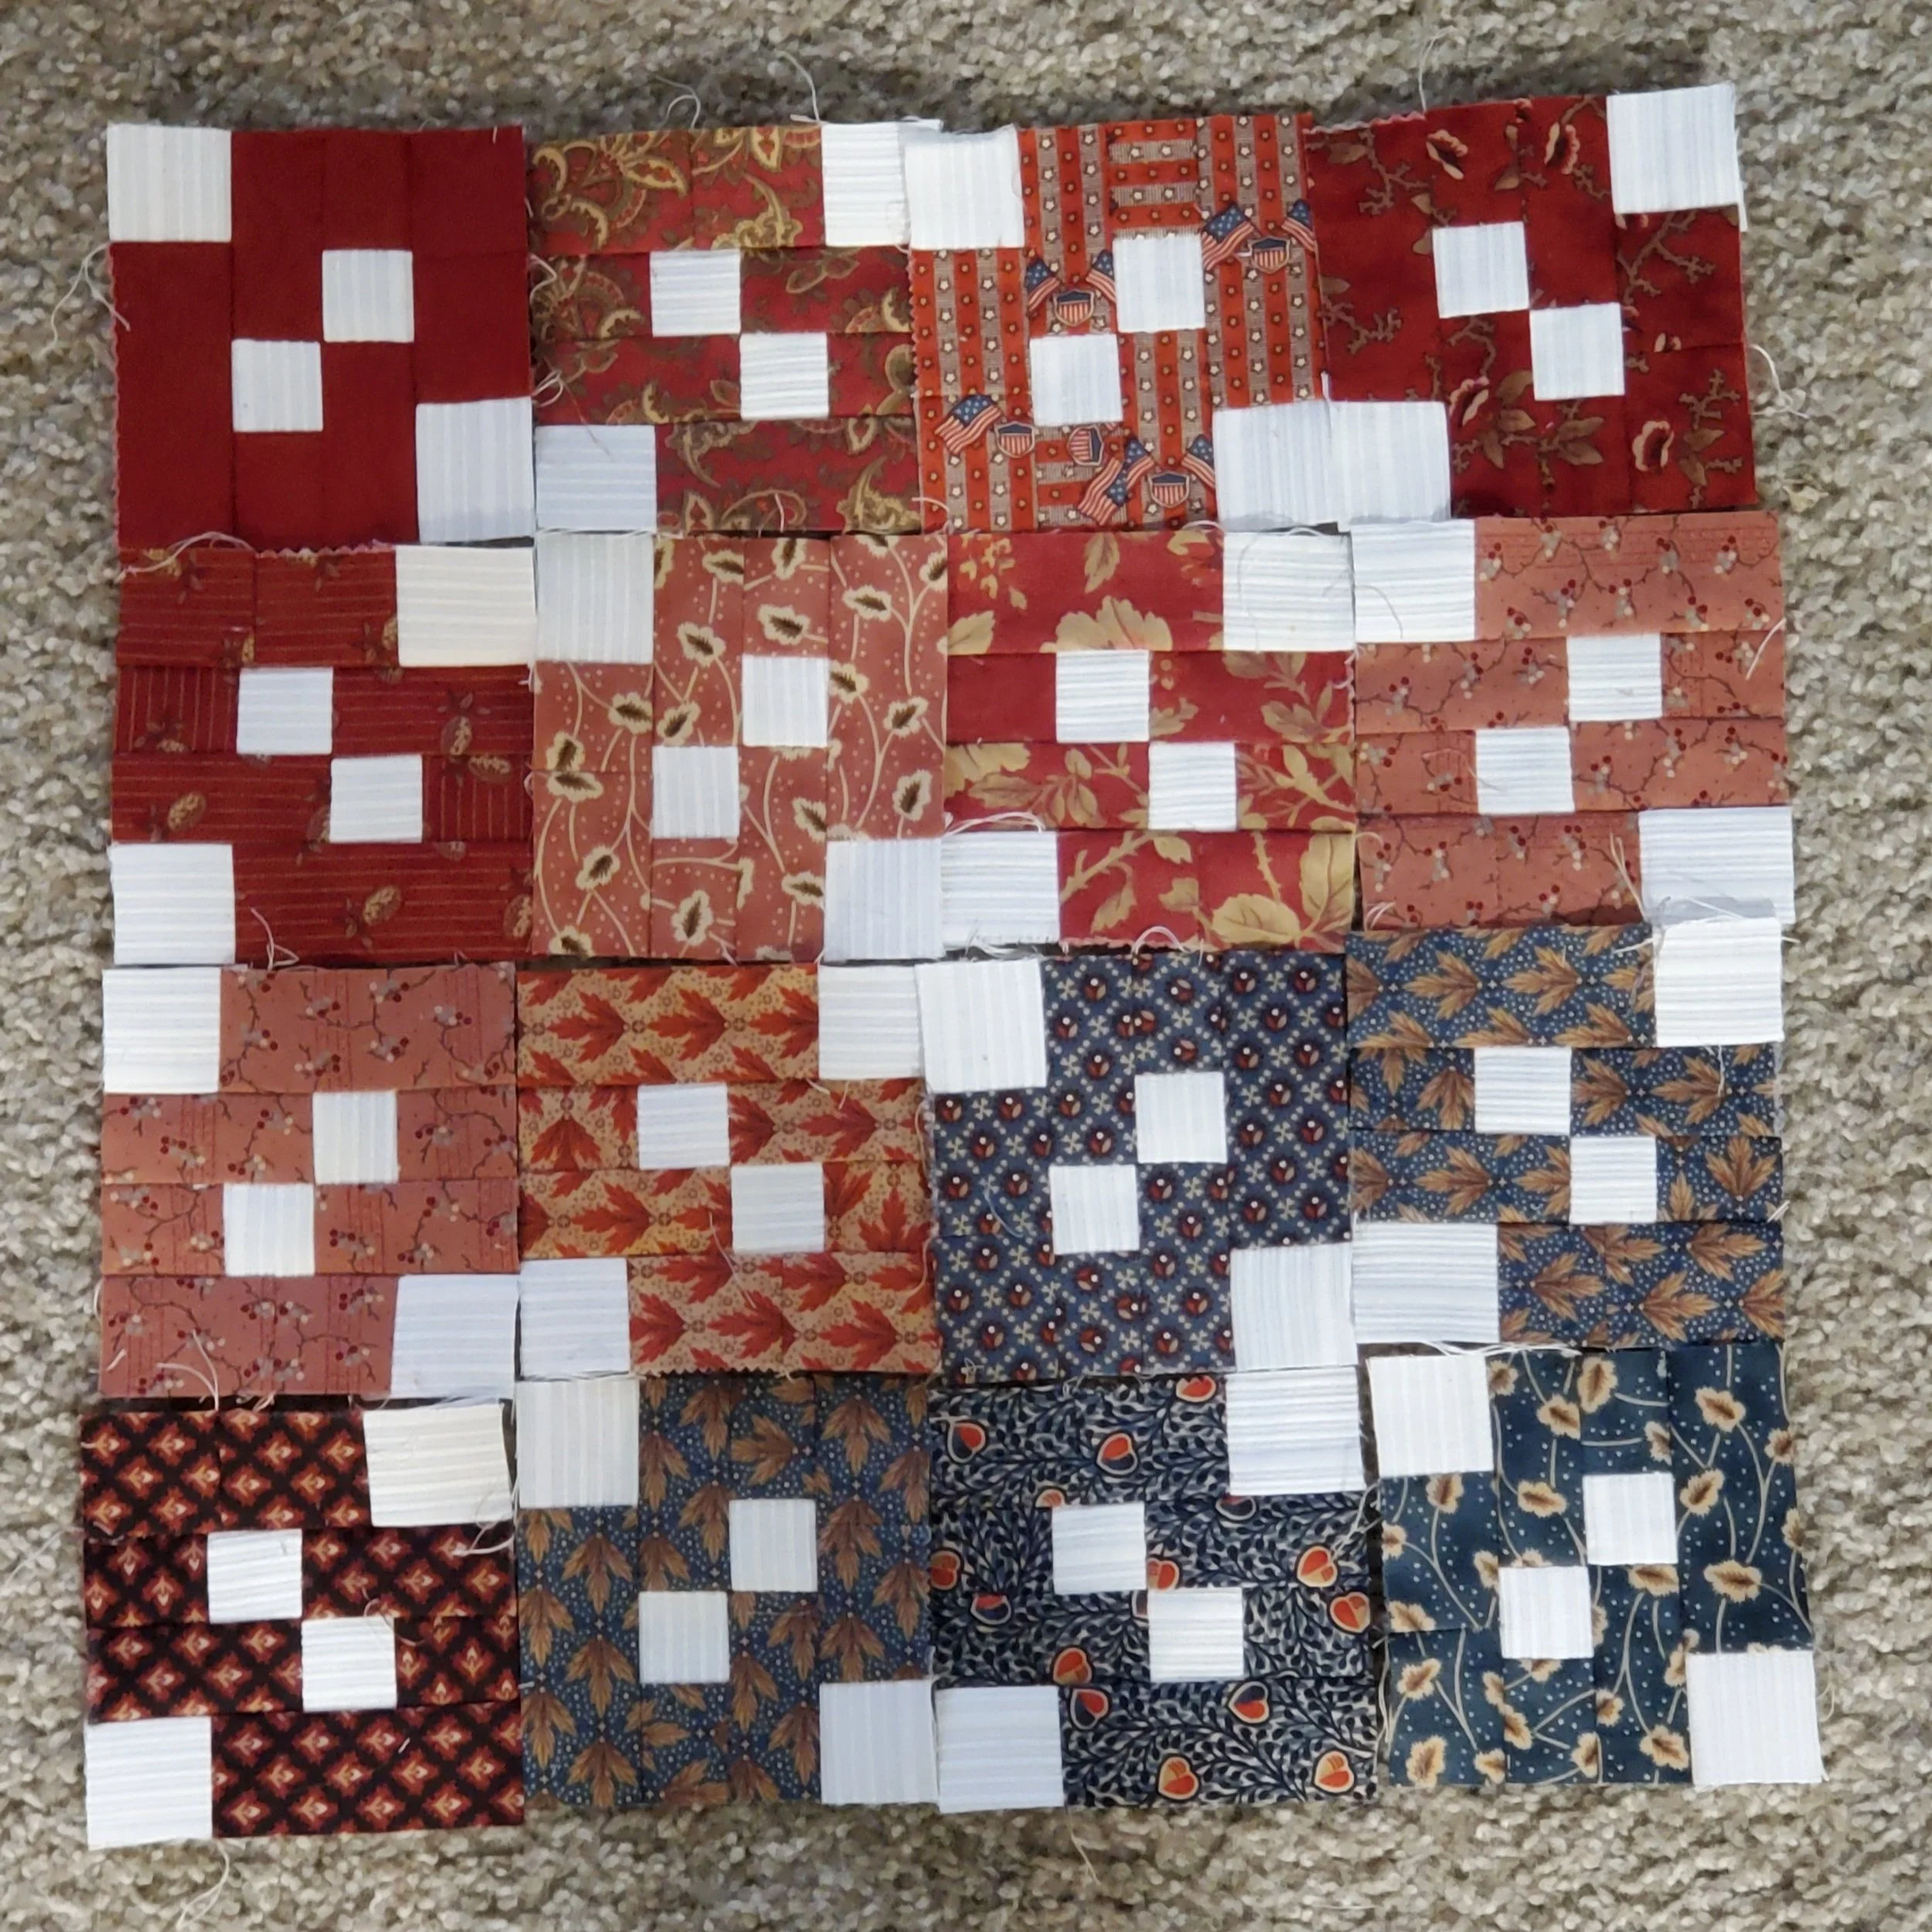
Starting the layout. Trying to decide how I want the colors to interact

The final layout after nearly an hour of moving blocks and deciding a gradient-loke look was the most interesting
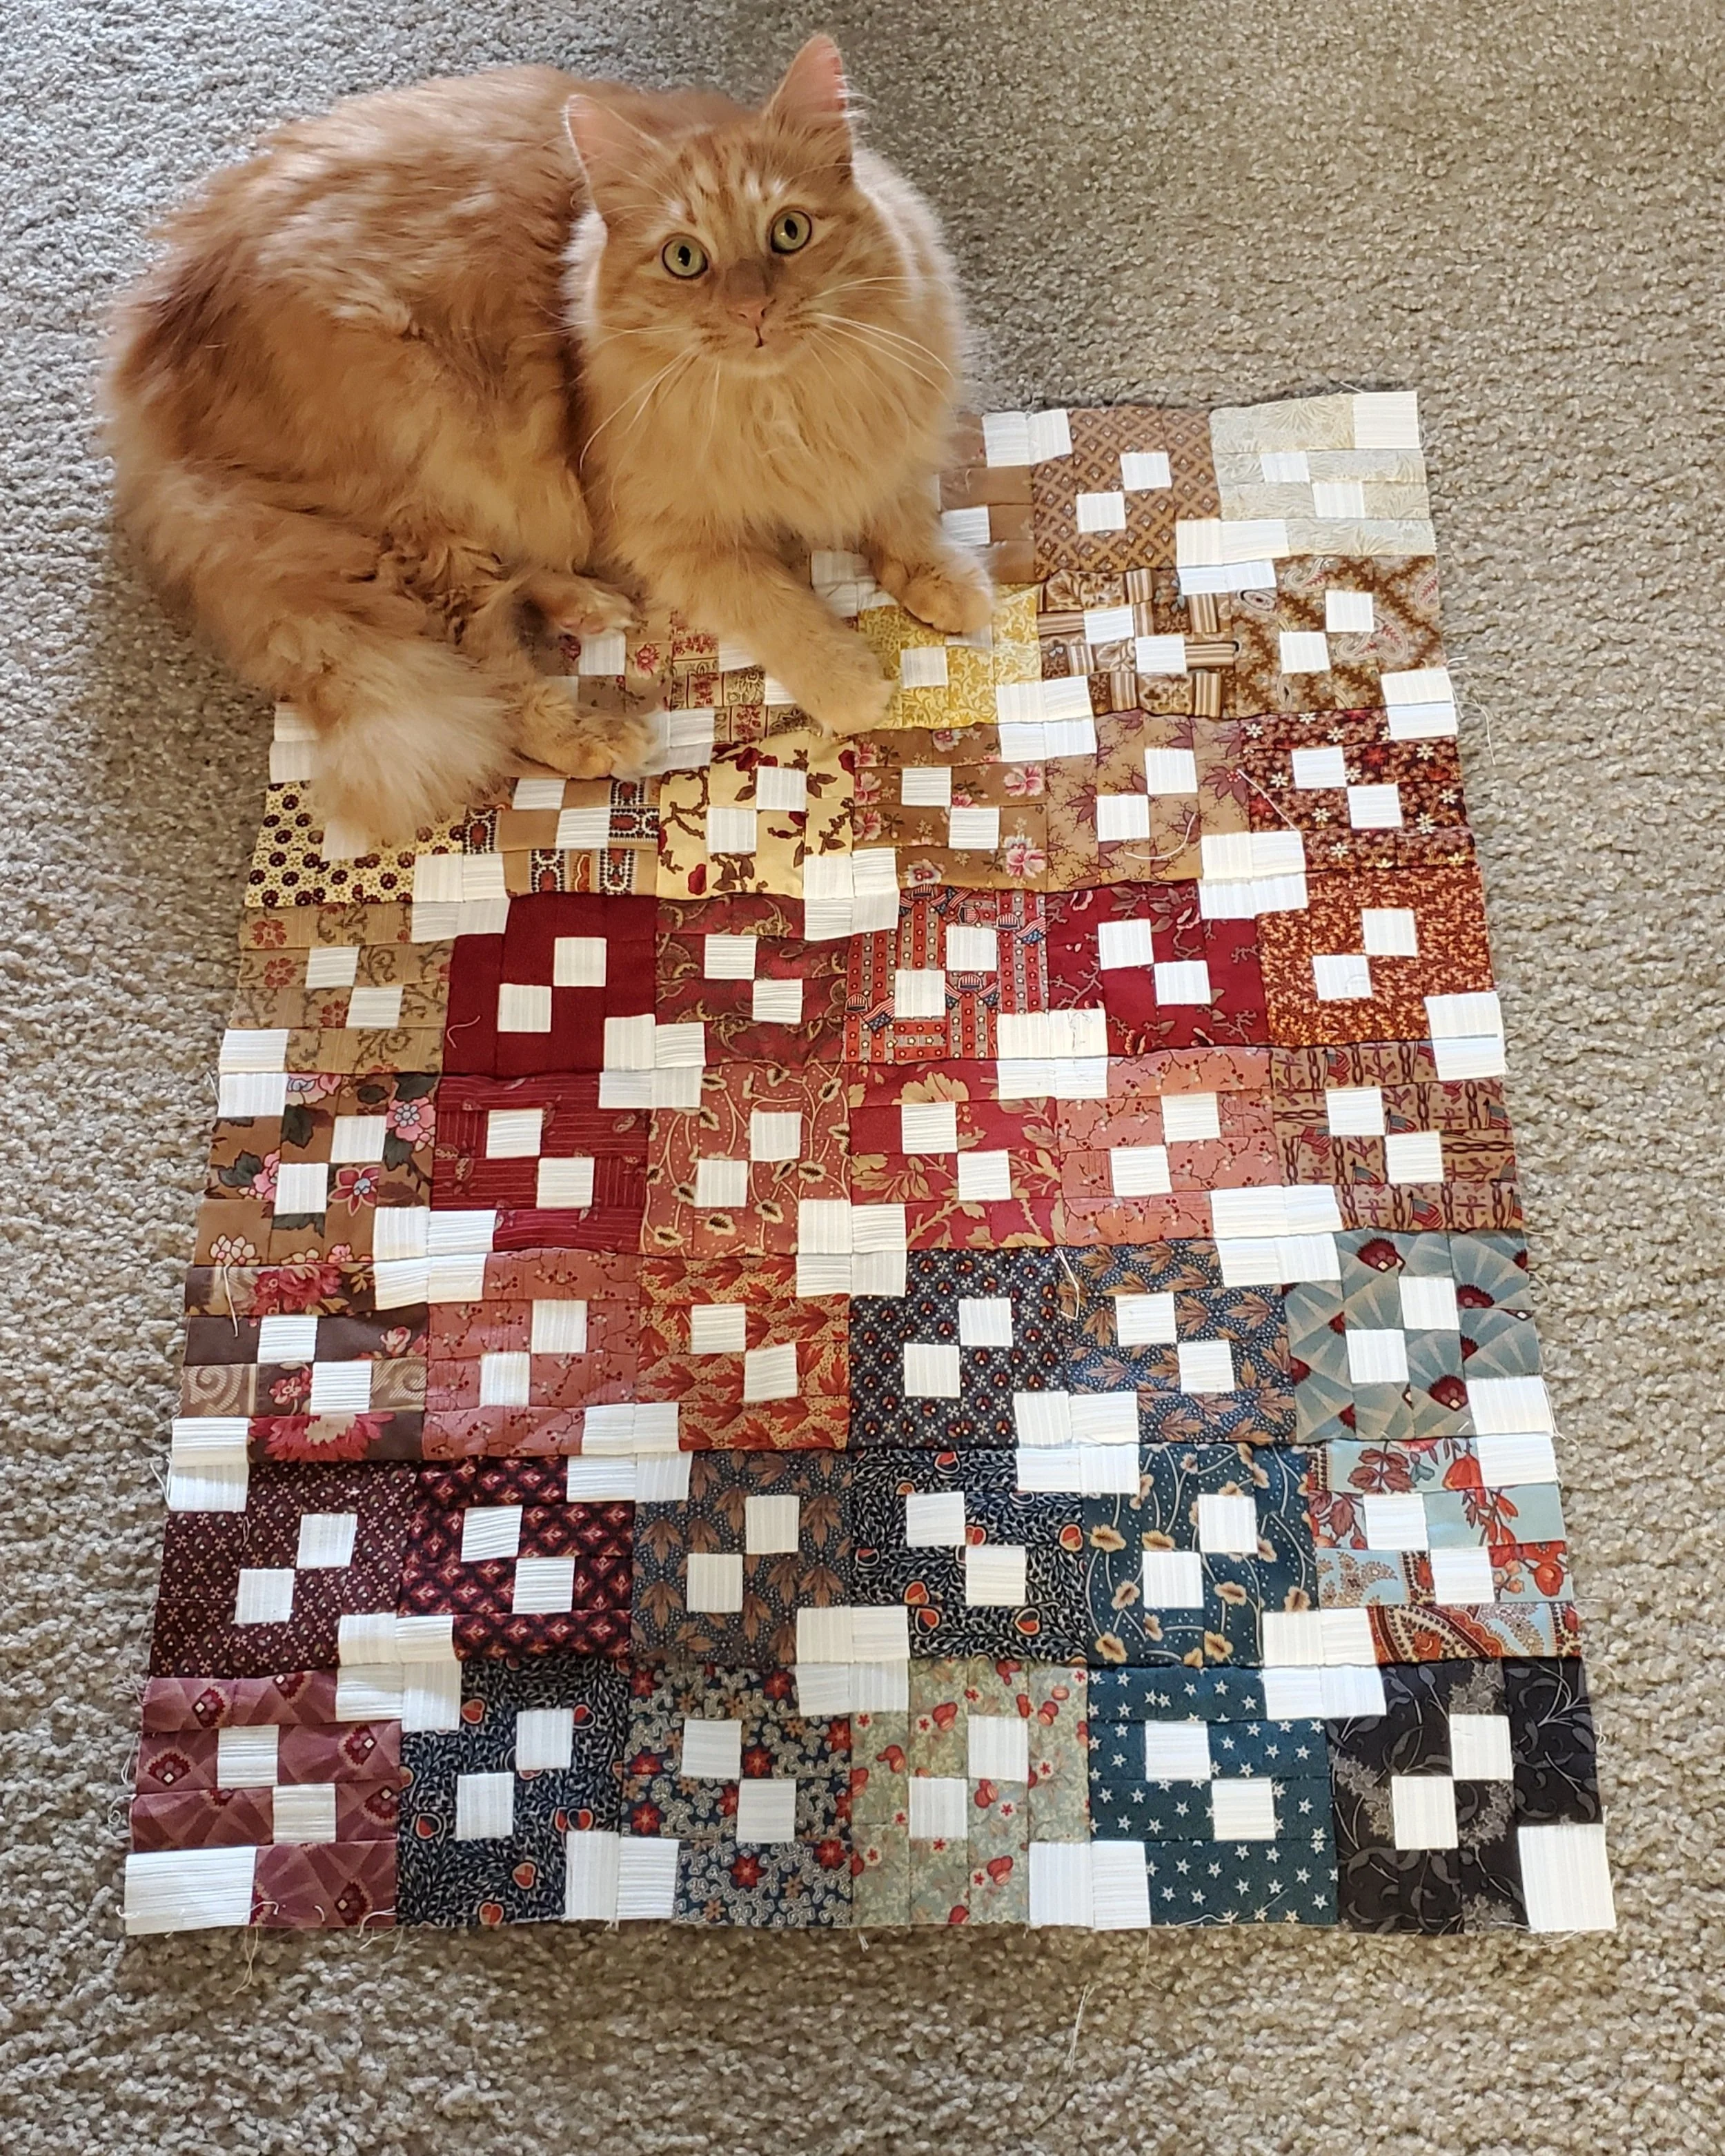
Bonus: Layout is approved by the studio supurrivsor, Bubba
I finally find a layout I like (and is approved by The Bubba), so now it’s sewing time! I start piecing the blocks together but can’t shake the feeling of “this is kinda boring to look at”.
Hmmm…not sure why I’m finding it boring, when others around me think it’s a pretty swell layout and use of color. But my gut is screaming at me that this needs something “more”.
About this time, I wound up travelling for work and had to put this piece away for about two weeks. During these travels, “Crazy 8’s” is still in the back of my brain, percolating like a coffee maker. My boss on this trip showed me some of her tattoos (we worked remotely and I didn’t know she had tattoos at that point) and I knew instantly that I wanted something inspired by a tribal-style tattoo to applicae on top of the “Crazy 8’s” blocks. I realized that the highly stylized nature and spacing of tribal style tattoos would create this visual shifting dance between the pieced blocks and the applicae.
I briefly considered using white, but decided it would blend in with the white I had already used in the blocks themselves. I knew that I wanted it to contrast strongly against the top in order to achieve that visual dance, so I opted for the opposite of white - black - instead.
Now I just had to figure out what motif or image I wanted to use for the applicae and in my brain the thought process kinda went like this:
“Crazy 8” block -> It’s nearly August, 8th month of the year, kinda appropriate -> Isn’t the August Zodiac sign Leo the Lion? A tribal tattoo style lion could be dope… -> Does some googling -> Oh snap! Leo is the August Zodiac sign! It’s a sign! We doing this!
And that is how a tribal style tattoo inspired motif of Leo the Lion was selected to be applicaed over the “Crazy 8’s” quilt top…
Bringing Leo to life
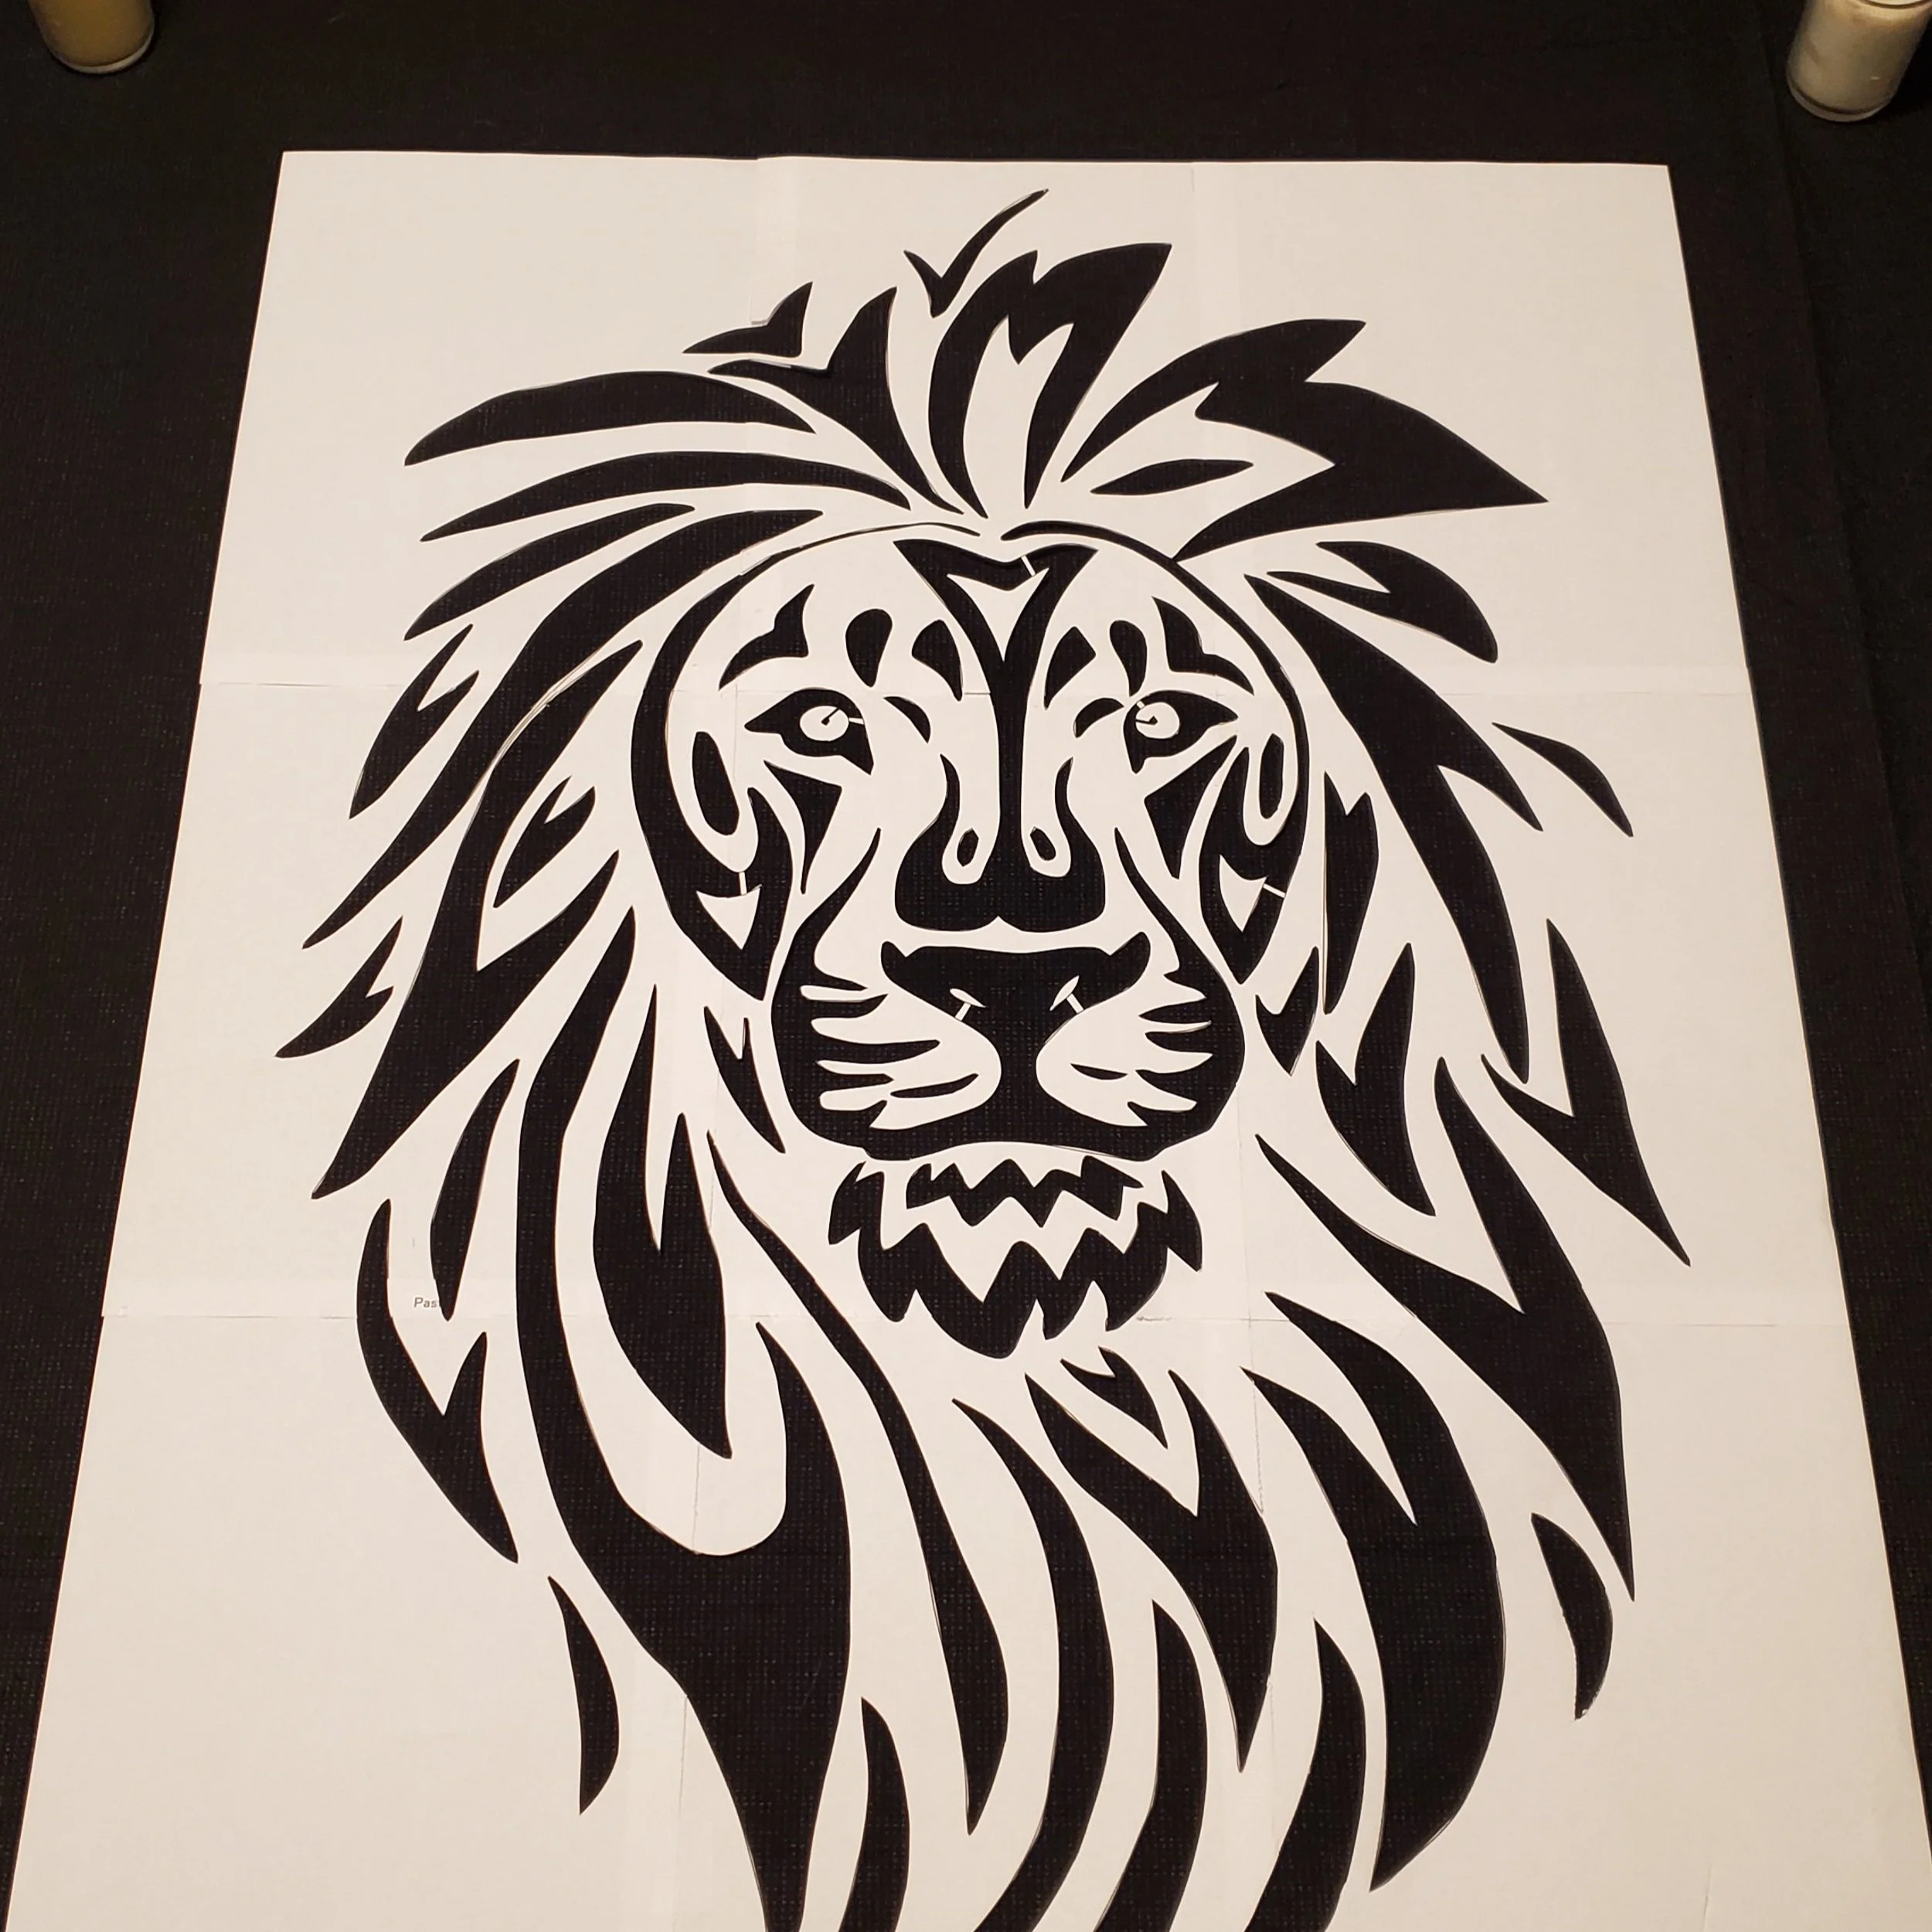
After doing some research on different styles of tribal tattoo lions, I developed and printed out my version of one the size of the quilt top. Next I used an X-acto knife to cut all the holes in the paper that would act as my stencil onto the fabric.
After Leo was all cut out, I next had to figure out how to do an image transfer of the stencil onto the fabric. At first I tried tracing using my favorite water-soluble fabric gel pens, but after 3-4 tracings, I realized it was going to take me FOREVER to trace all the stylized pieces and I was quickly burning through my refills of white gel.
So I decided that instead of tracing, a chalk transfer would be a faster (and cheaper!) alternative. (I was still stuck using an X-acto knife to cut all the pieces out again…) It worked phenomenally well (except for my poor hand hurting for almost a week afterward).
Fun Fact: This is the project that broke me and caused me to buy a cutting machine. You probably would too after 8 hours of X-acto knife cutting…
Chalk Transfer
More X-acto Knife Cutting
To the Finish!
After all that X-acto knife cutting, the next step was to baste Leo onto the quilt top.
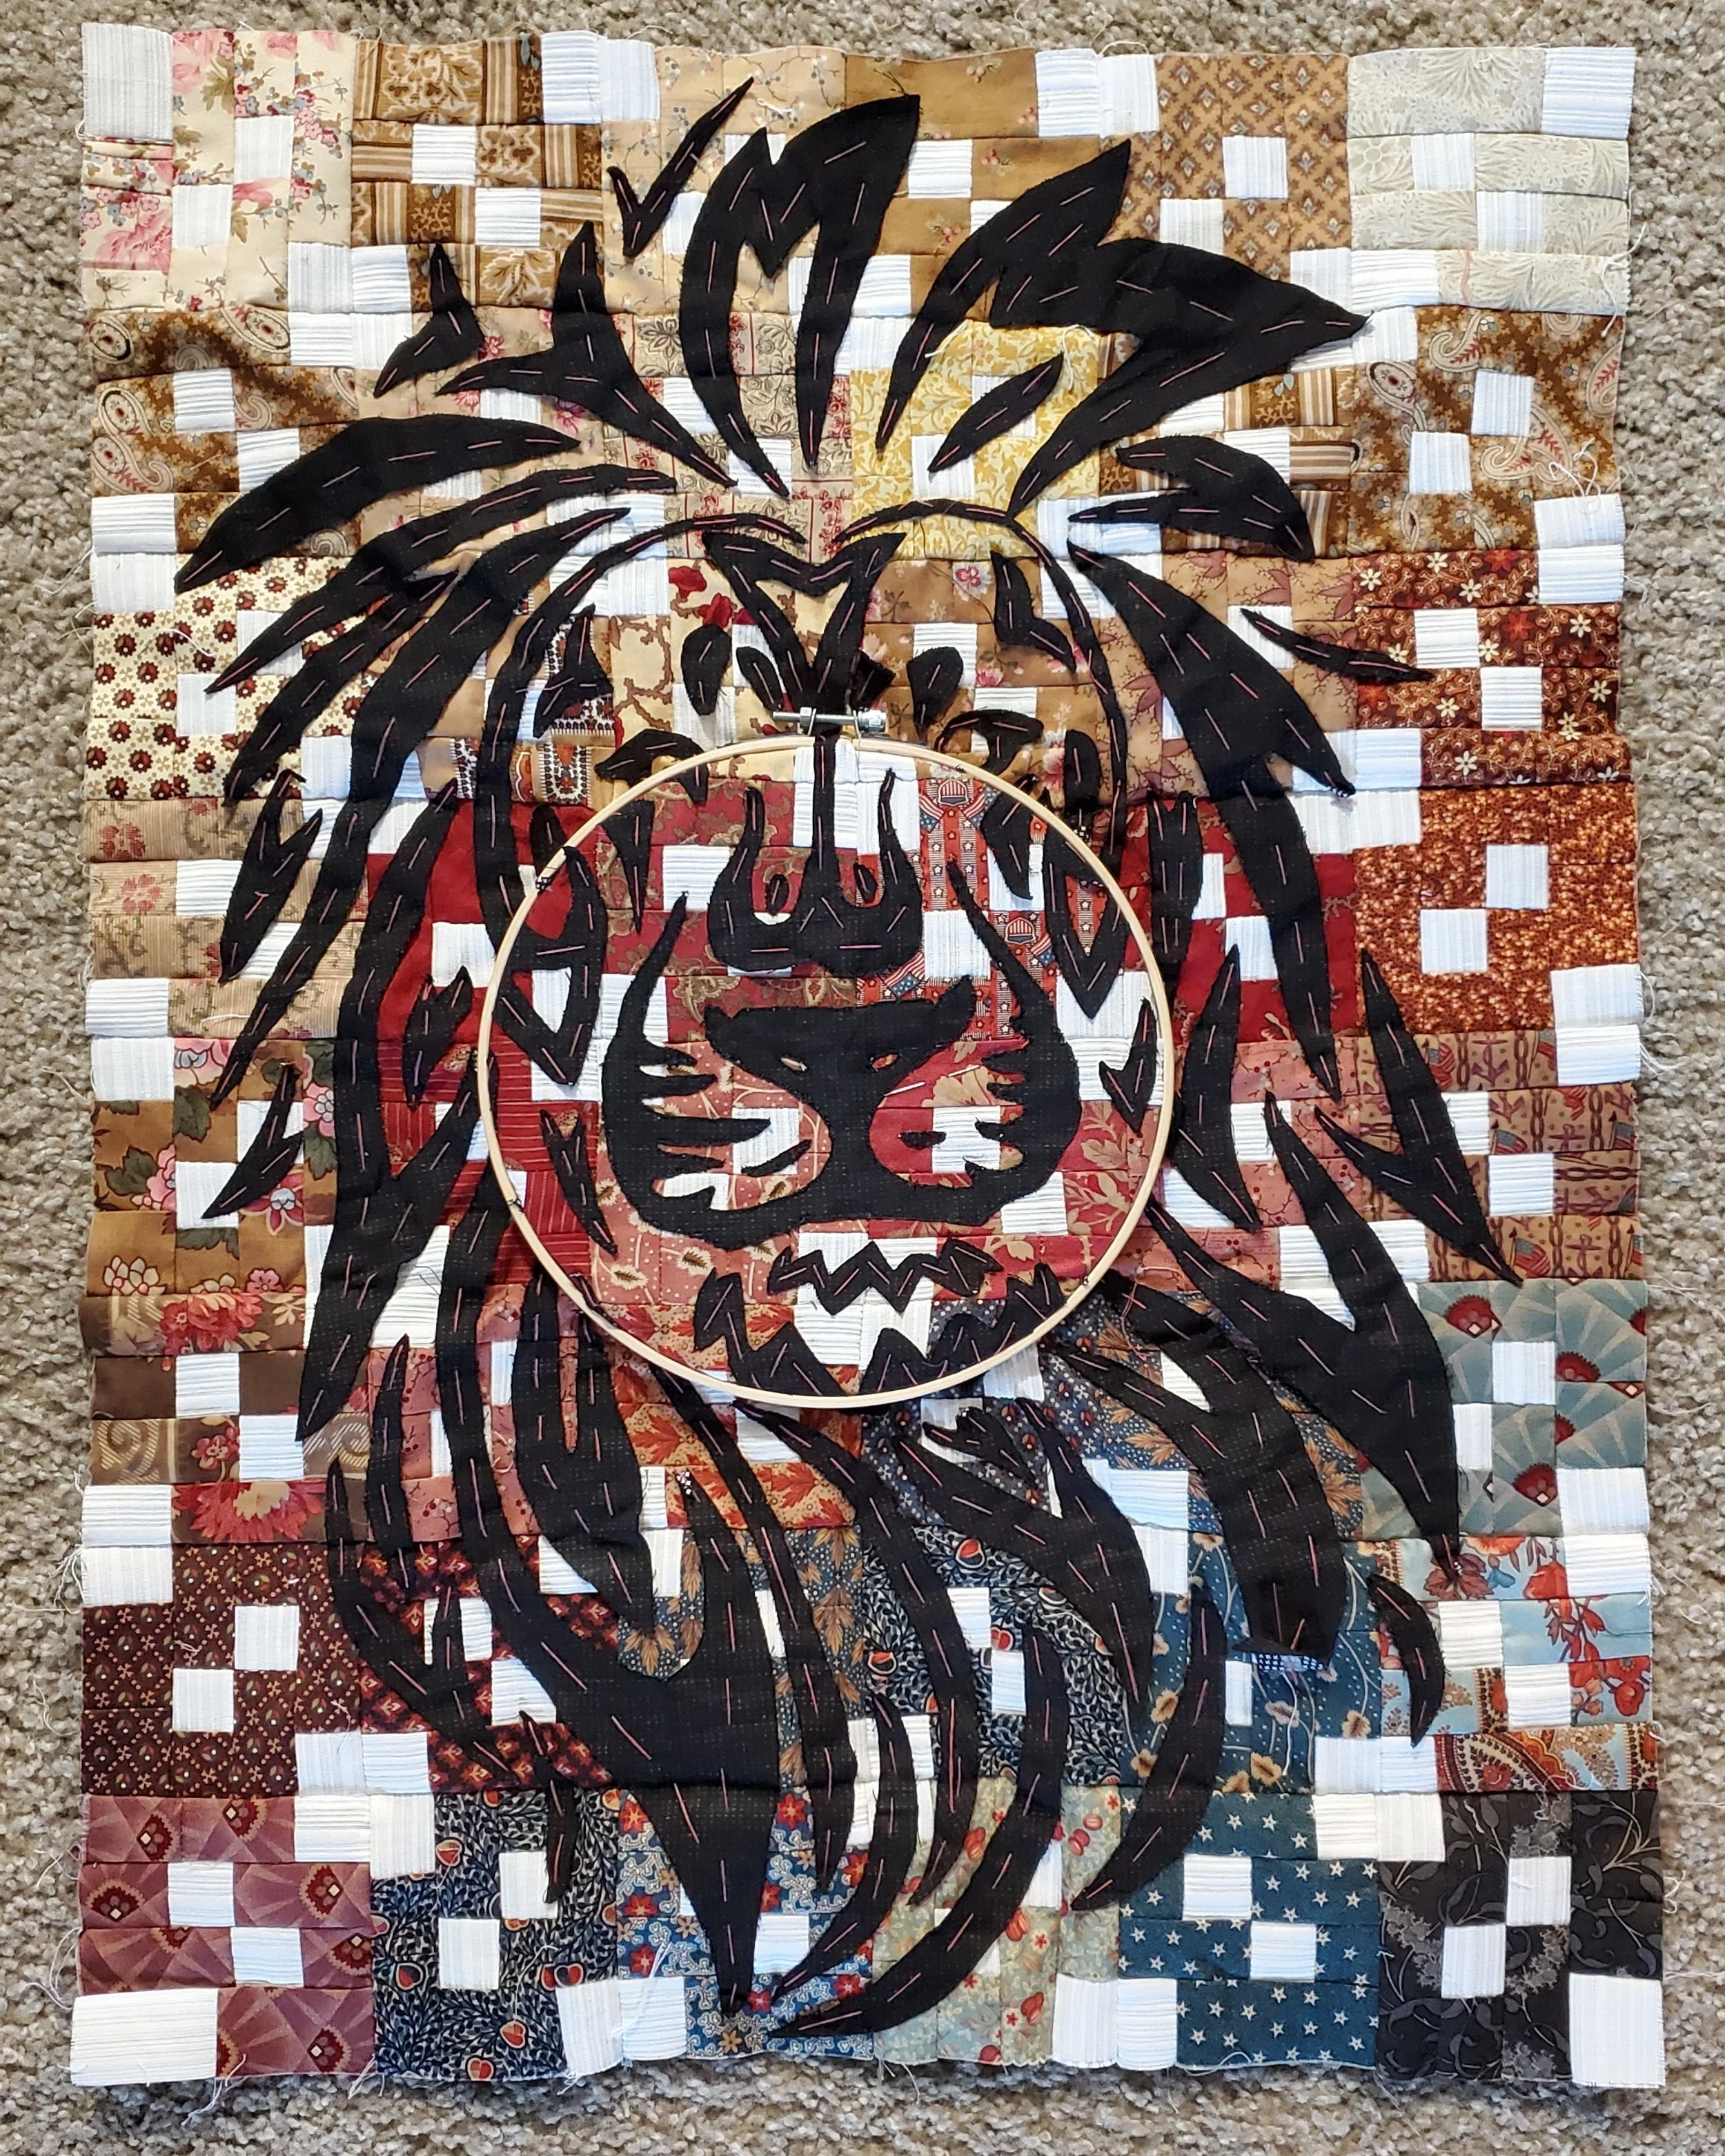
After I finished appliqueing Leo to the “Crazy 8’s” quilt top, I quilted around him using free-motion to “trace” the image of Leo. A few of the larger pieces of his mane were stuffed to give some more depth and he was finished off with simple black binding.
Leo started life as a skills and technical practice piece that morphed into an artwork of his own. I think that’s the beauty of doing small sampler and testers. You get to practice and master new skills, yet still create something that can be wonderful, unexpected, and fun. Practicing something without intention or and end goal in mind can sometimes lead to more creativity and artistic growth.
I hope the story of Leo inspires you to play and practice learning new skills without intention occasionally. You never know where that path could lead!
Not terribly exciting. I decided I wanted something to occupy my hands at night when watching TV, so I decided to practice my hand stitching initially. However, after a few weeks, I said “screw it” and decided to machine applicae it. Hey, I like machine applicae and I get bored easily, ok?
At least I know how to do a banket stitch now if the need ever arises…